A workspace defines a set of file-processing rules and access permissions. Each workspace is created from a template, and SmartDocumentor currently supports the following templates:
Invoices (Portugal) - Process invoices from Portugal, including detection of QR codes following the ATCUD standard.
Invoices (Universal) - Process invoices from multiple countries.
Receipts - Process receipts from multiple countries.
Transcripts - Transcribe text from audio and video files.
Document Anonymization - Redact sensitive data from documents.
Image Anonymization - Censor elements in images, such as faces or text.
Identification Document - Process identification documents.
Layout - Capture structural information from forms and other document types.
AI Document Understanding - Extract data from documents and images with the assistance of field prompting.
Template - Build a fully custom template tailored to your specific needs.
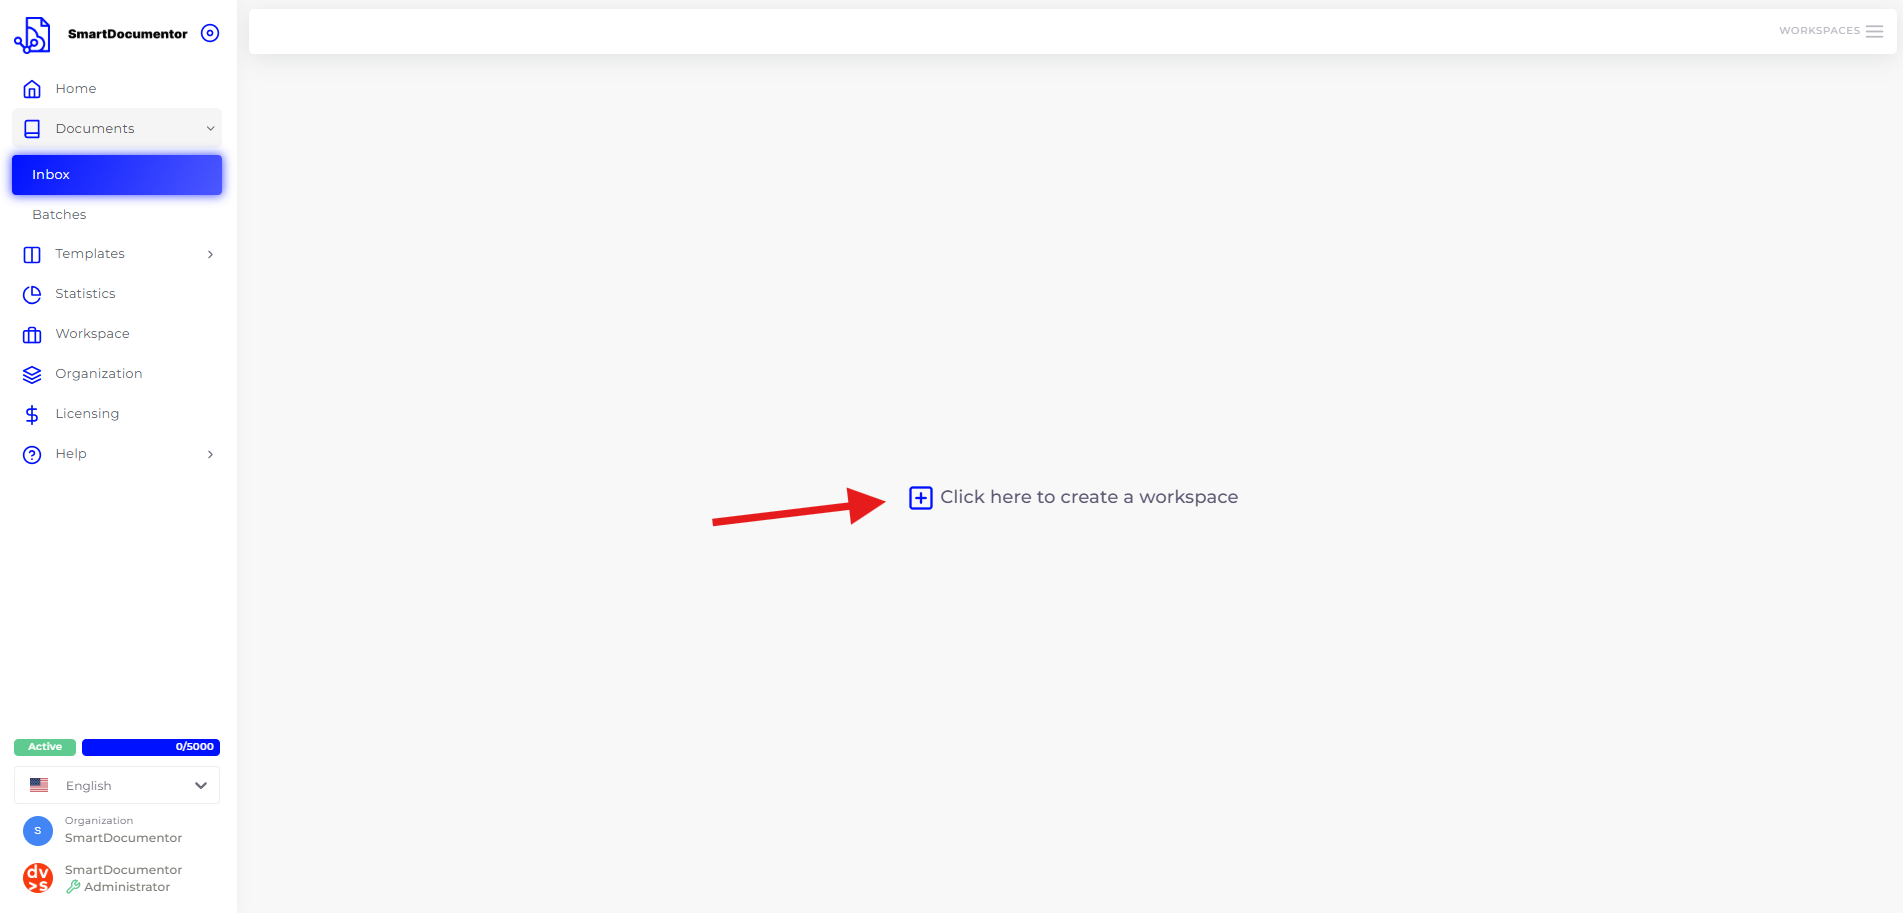
There are two ways of creating workspaces, one of which is only visible the first time a user logs into SmartDocumentor:
Creating them when the user first enters SmartDocumentor (while the user has no workspace created).
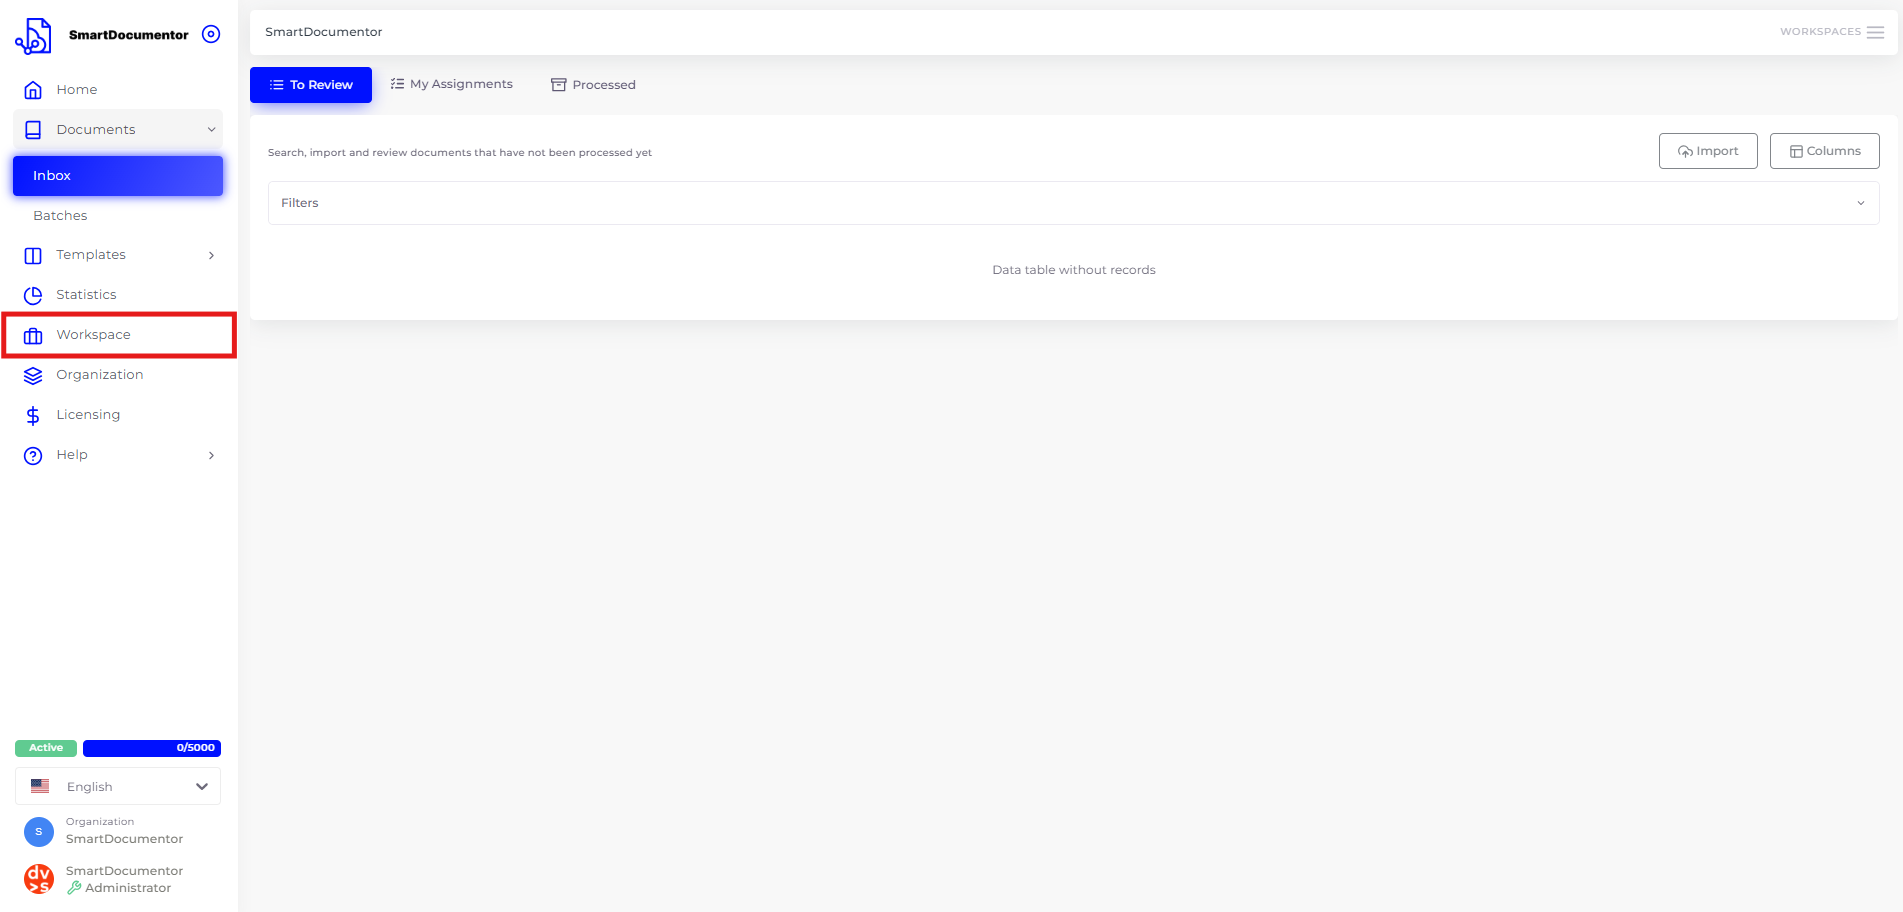
Creating it after at least one workspace exists.
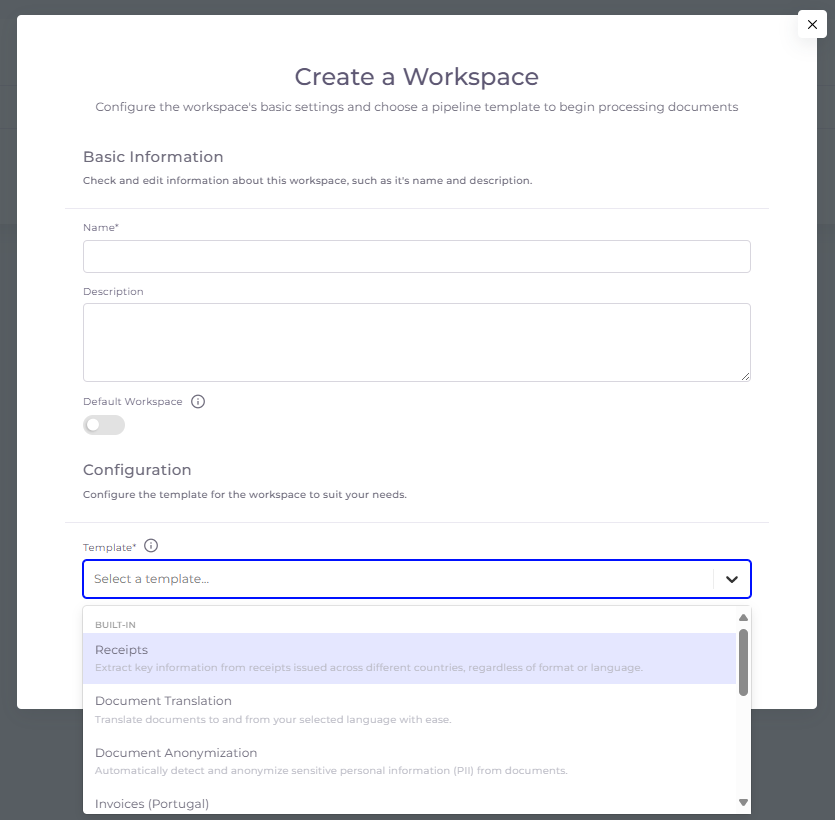
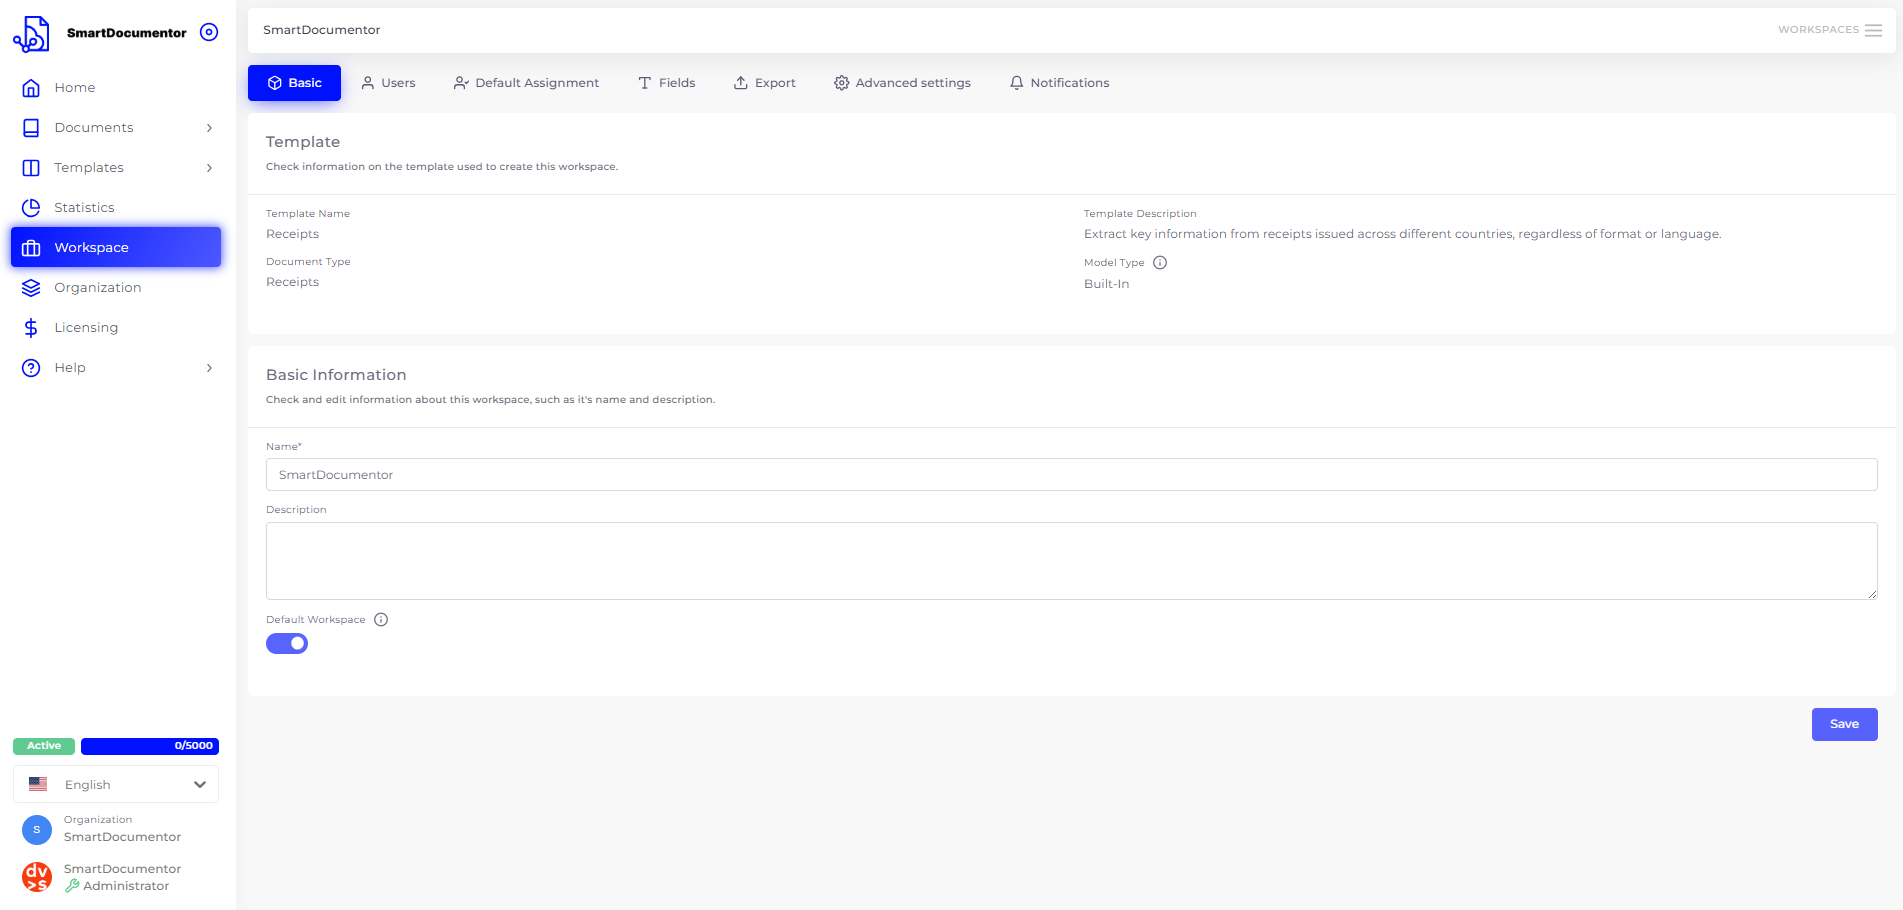
Regardless of how the user creates a workspace, the creation screen will always be the same in both scenarios:
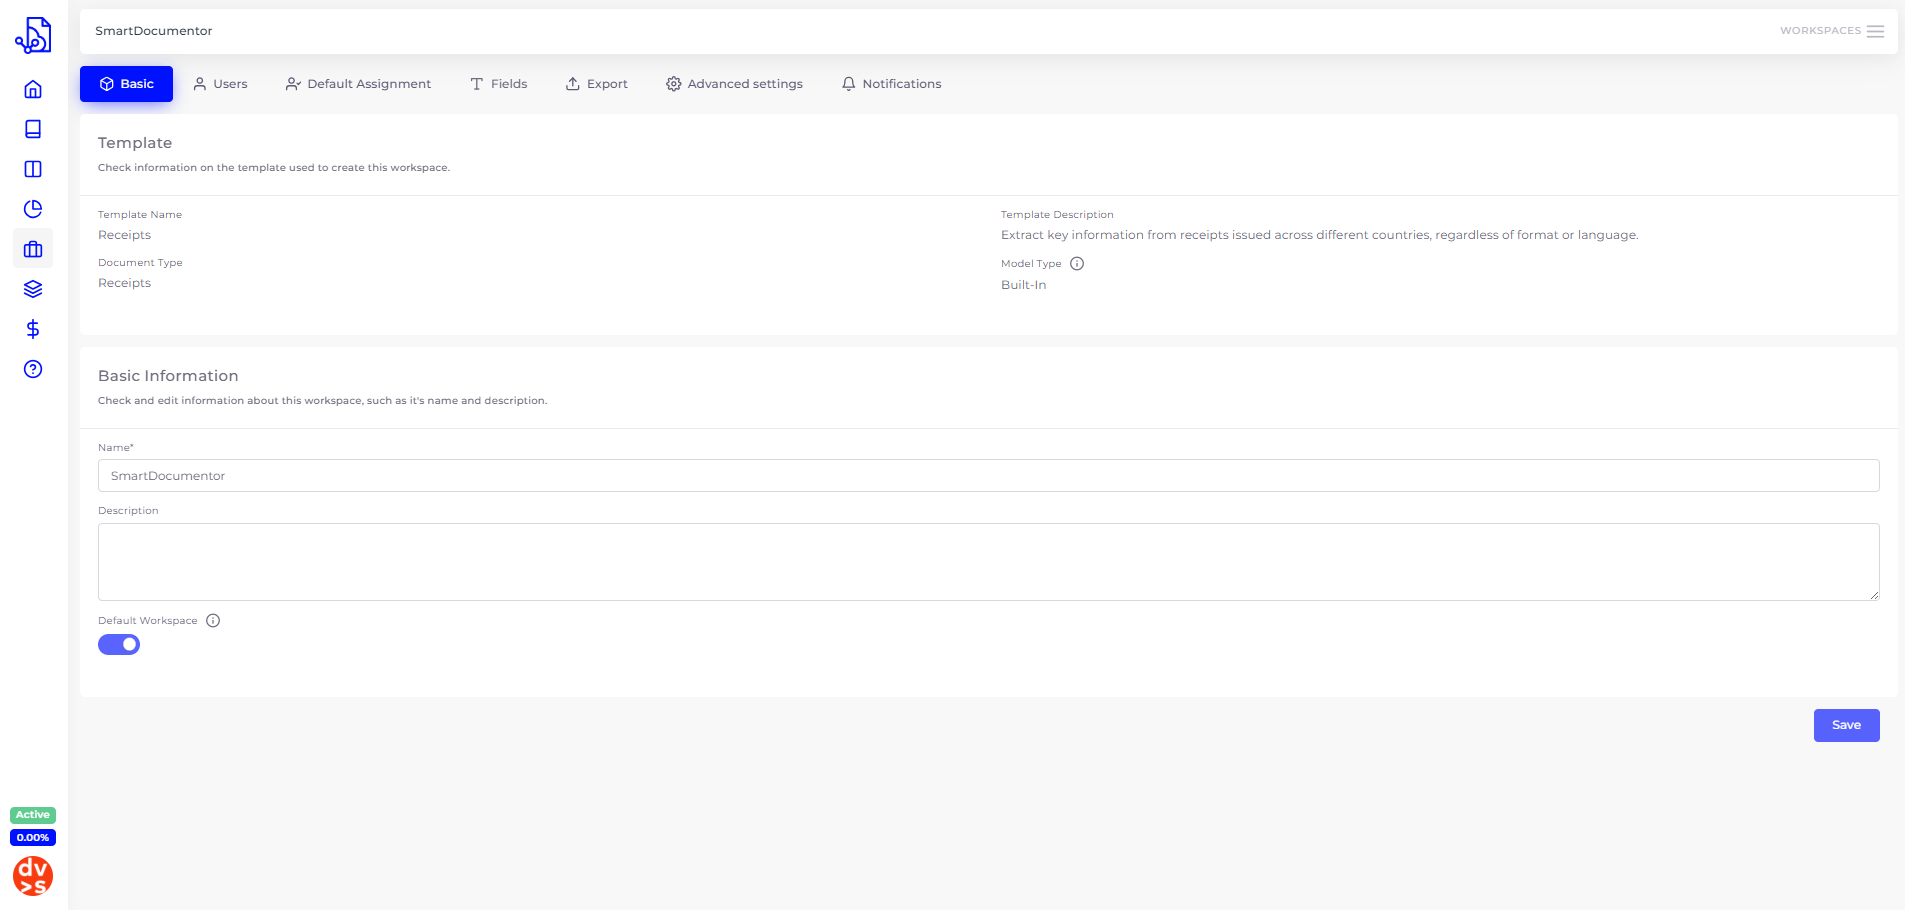
This section stores information about the processing model selected when the workspace was created, along with the workspace’s basic details, which can be updated at any time.
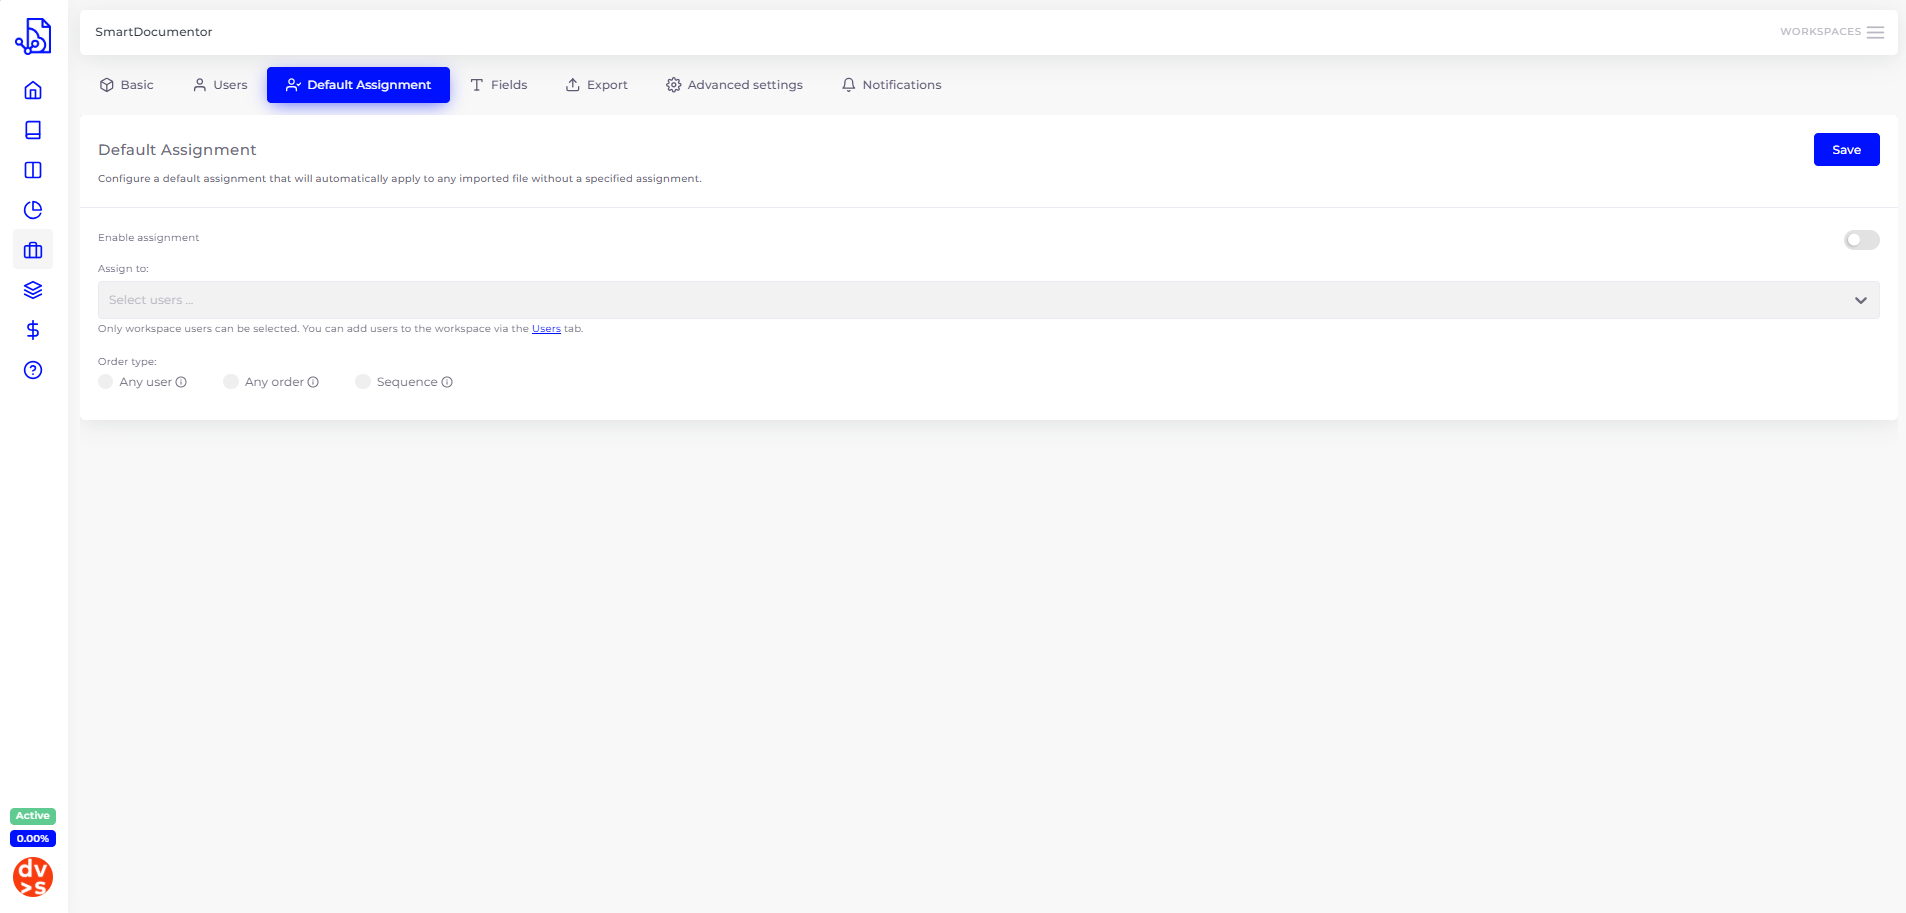
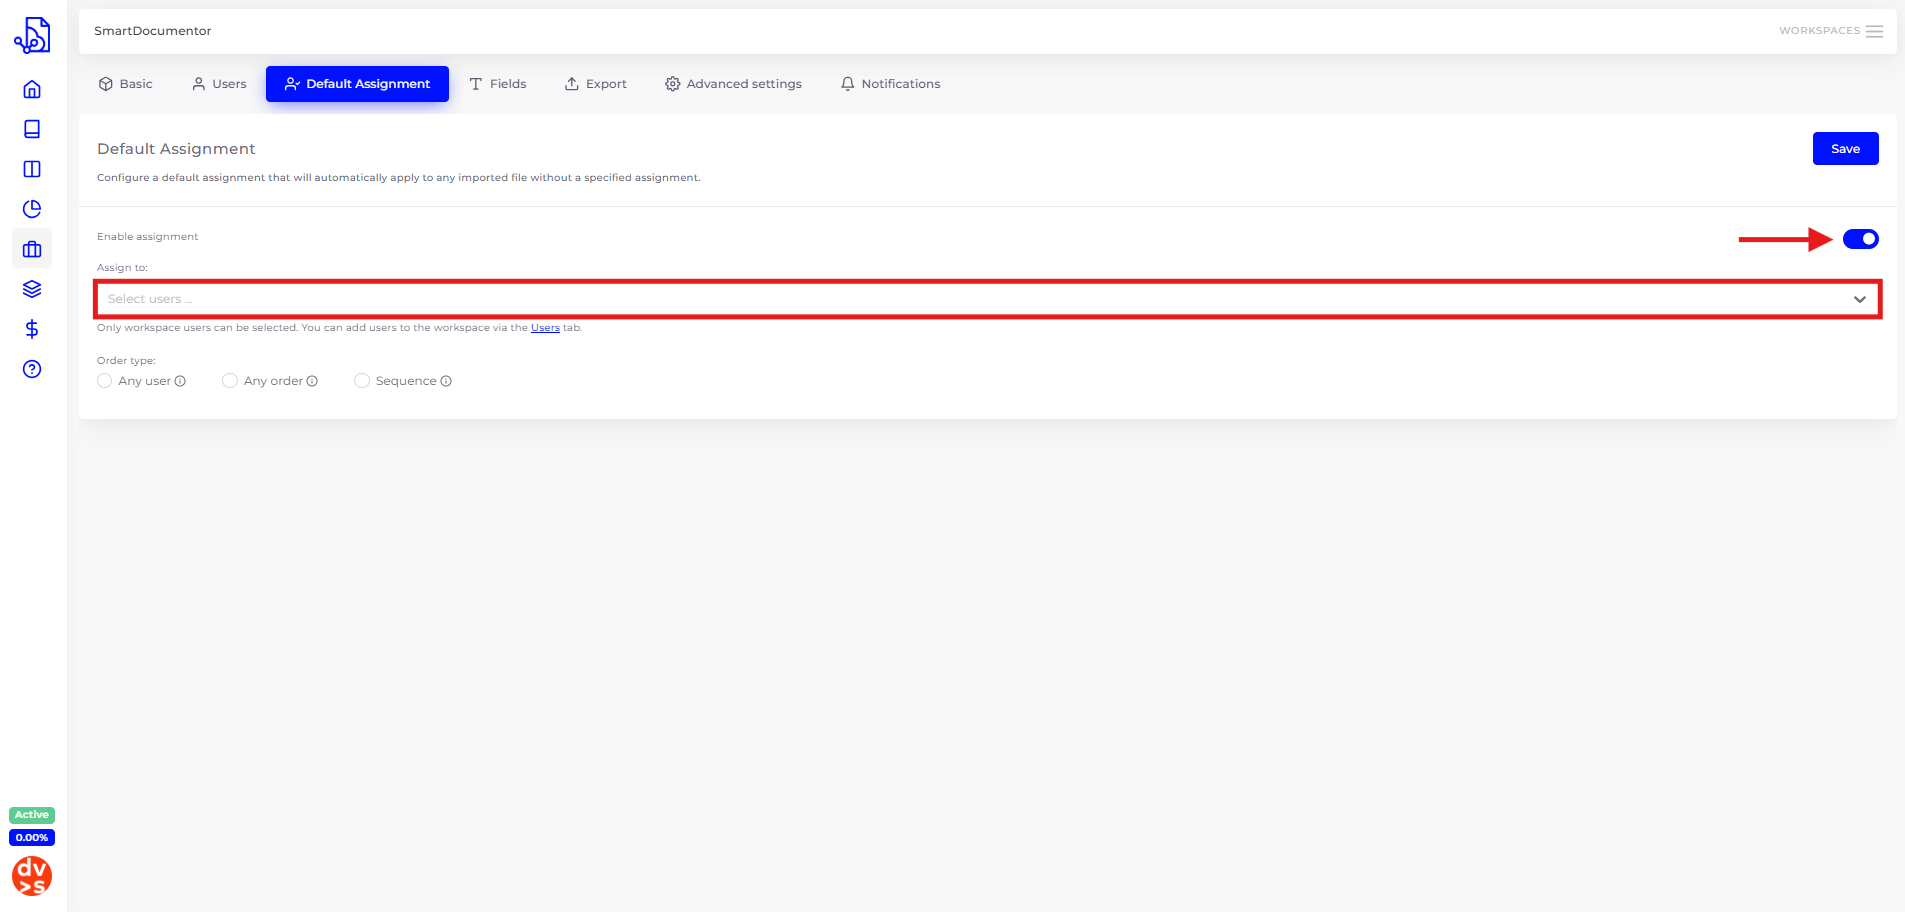
This section allows you to activate and configure the default assignment mechanism, allowing you to automatically assign revision tasks to specific users at the workspace level.
Once the configuration is enabled, you can select the users to be assigned review tasks by default using the dropdown menu.
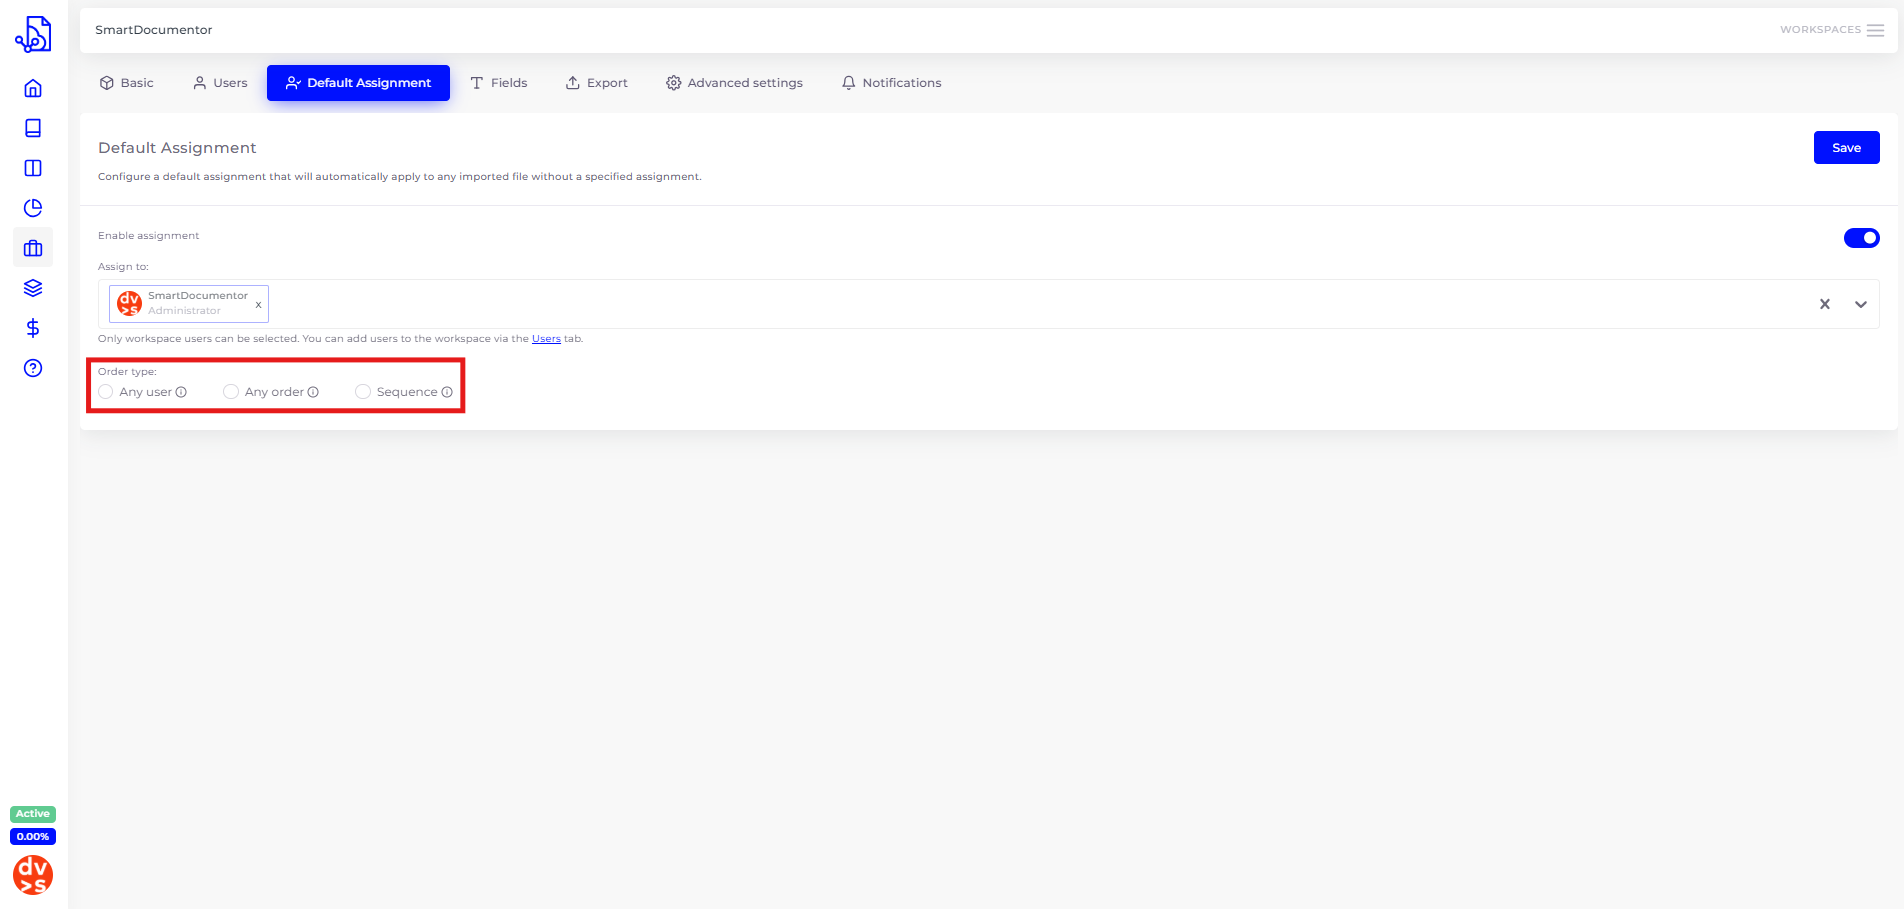
After selecting the users, you’ll need to choose the rule that will govern how the assignment configuration is applied.
There are 3 different options:
Any user: means that any assigned user can review the task, and it will be finished as soon as one user finishes their review.
Any order: means that any assigned user can review the task, but it will only be finished once all\
assigned users have completed their review.
Sequence: means that only the next user in the sequence will be able to review the task. The task will be finished once all users have completed their review.
Once the assignment settings has been configured, all further processing will already take these assignment rules into account. All processing that was ready for review before these rules were created will not be affected. You can change or switch off this assignment setting at any time.
This section allows you to select which types of fields to detect based on the chosen detection model.
You can disable, reorder, or add new fields to the workspace. However, newly added fields are not automatically detected, as they fall outside the scope of the model’s trained field set. These fields will instead appear during the review phase, allowing the reviewer to fill them in manually.
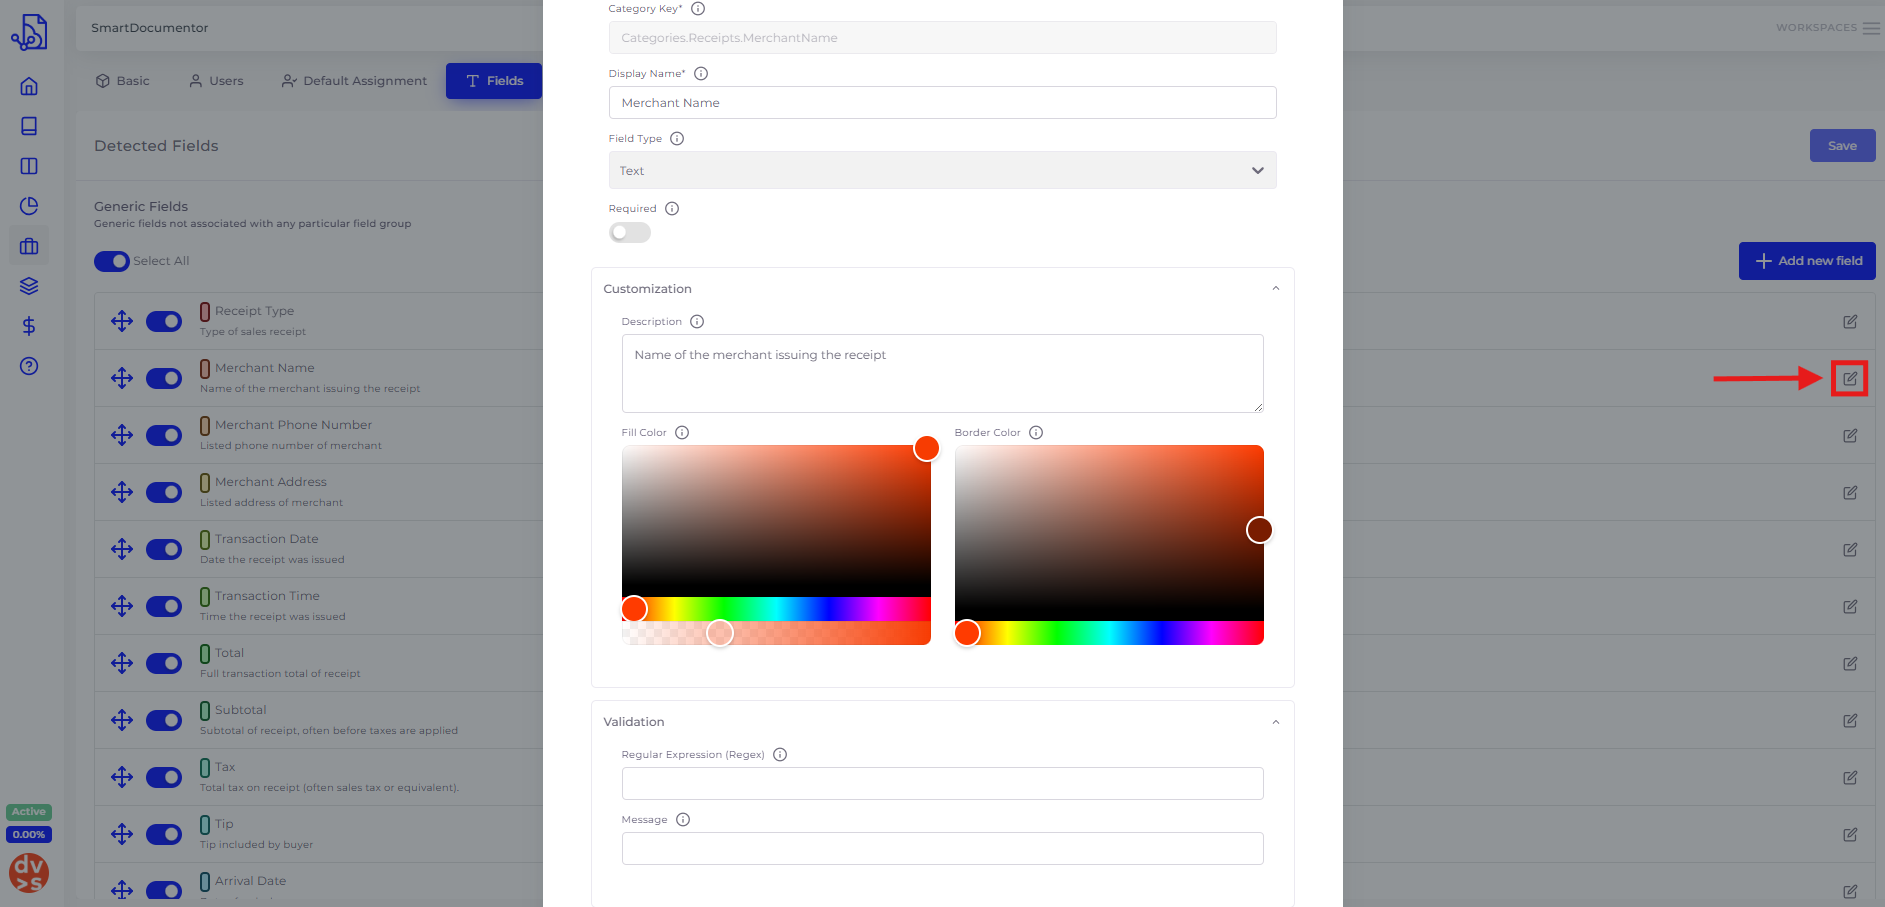
You can fully customize the platform’s available fields to match your specific requirements. Options include editing display names, setting requirement statuses, adding descriptions, adjusting colors (for generic fields), configuring validations (for generic fields), and specifying alternative headers (for table fields).
To configure a select box field pick the Select option in the Field Type dropdown. A new configuration will appear, allowing you to associate the select box with an existing field. This association is optional; however, when set, the value of the associated field will be used to automatically match one of the select box options.
Configure the remaining required fields as needed and save your changes. Afterwards, a window to configure the select box options will appear. Each option must include the following fields:
Key: A unique identifier for the option.
Value: The value used for comparison with the associated field. If it matches the associated field's content, this option will be selected.
Display Name: A name that shows in the option description.
Options can be added manually or imported from an Excel file.
1. Add options manually: To add an option, click the “Add row” button in the options table. Then, enter the Key, Value and DisplayName.
You can edit or delete any row at any time, and add new rows whenever needed.
2. Import options from Excel: To add multiple options at once, you can import them from an Excel file. The file must be in .xlsx format and contain three columns: Key, Value and DisplayName. A template file is available to help you configure the options correctly.
During the review process, your select field will appear in the review side panel and clicking on it will display all the configured options.
If an associated field is configured and its value matches any of the select box options, that option will be selected by default. Otherwise, the select box value will be empty. To manually select an option, simply choose the desired one and save the review.
The selected option will be exported as the content of that field.
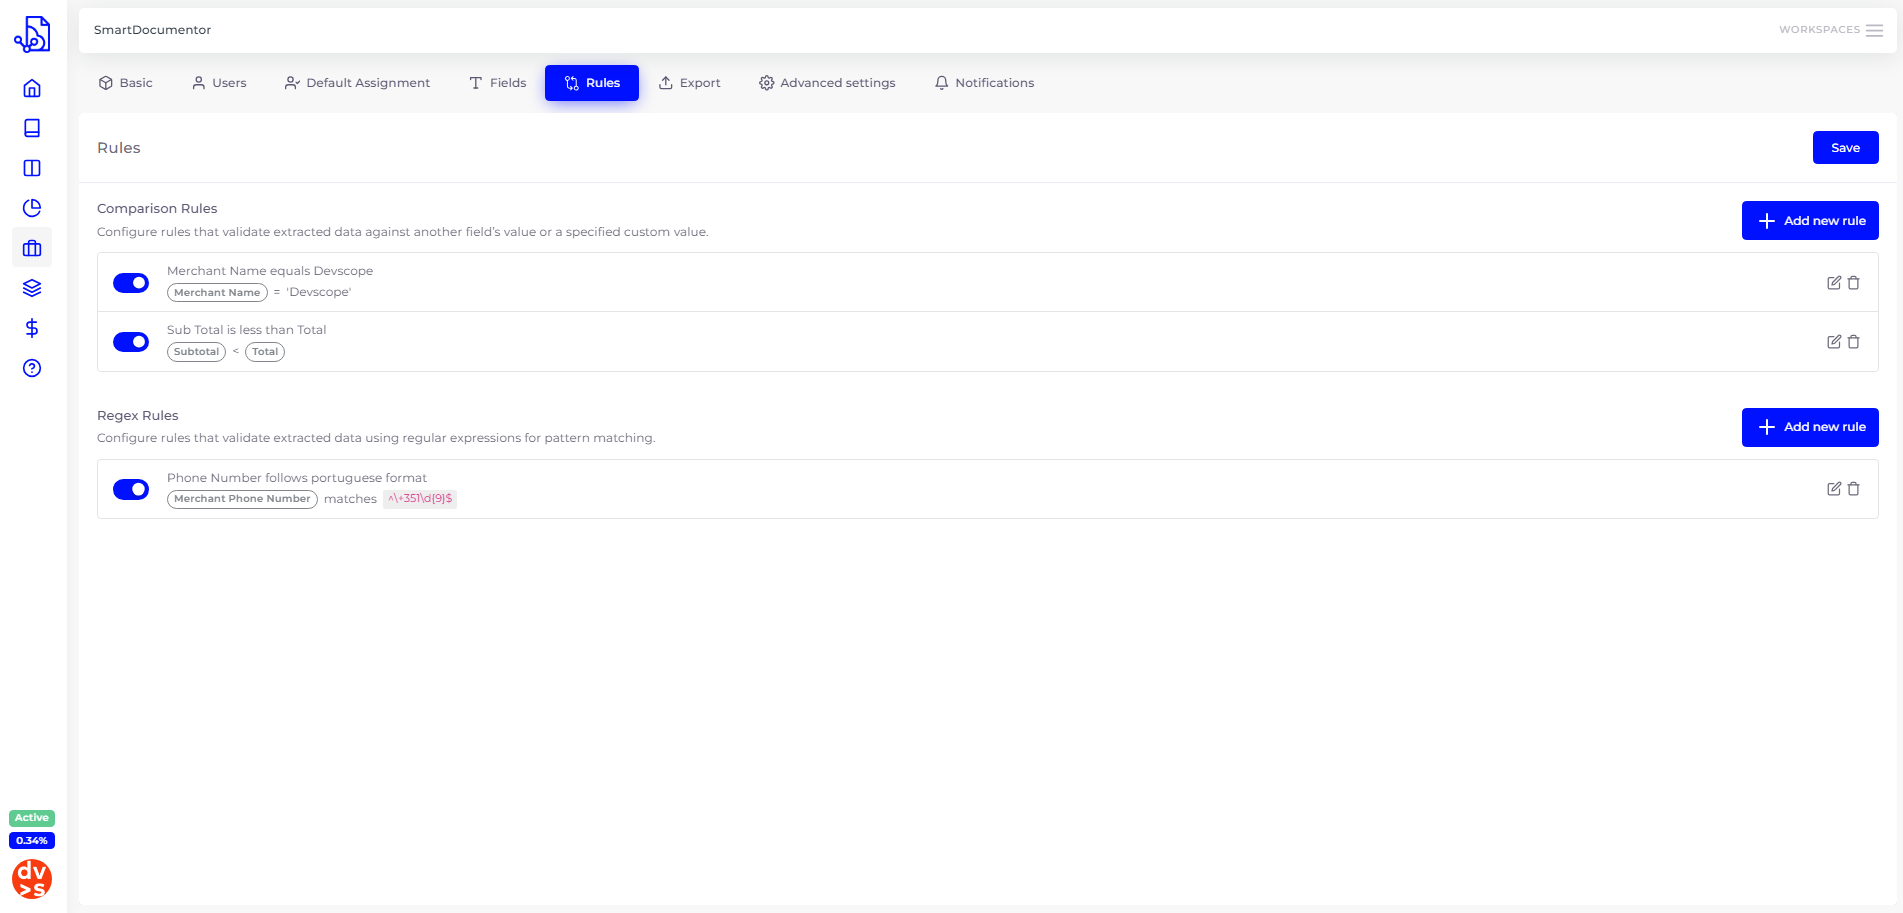
This section allows for the configuration of validation rules that will be applied to your tasks before saving or finishing a review.
There are two types of rules:
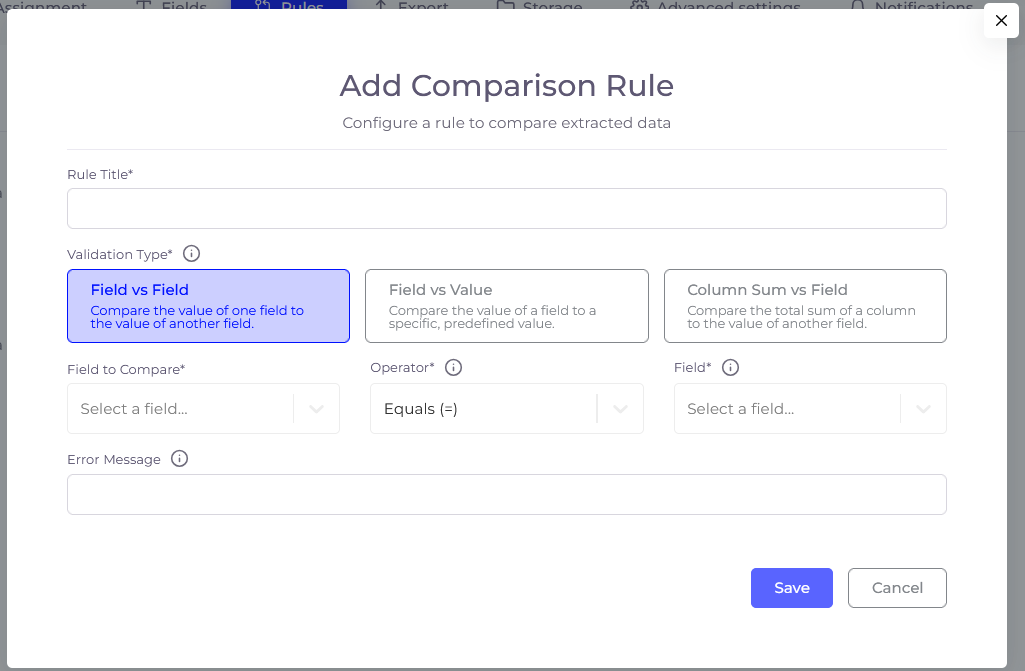
Comparison - Allow you to compare a field’s value with another field or with a constant value. You can check whether values are equal, greater than, or less than each other and there are three types of comparison :
Field vs Field Checks that field’s value is equal, greater than, or less than another field’s value. Example: Tip is less than the Total
Field vs Value Checks that field’s value is equal, greater than, or less than predefined constant value. Example: Merchant Name correspondes to Foe
Column Sum vs Field Checks that the sum all values in a table field is equal, greater than, or less than another field’s value. Example: The sum of all values in column TotalPrice is equal to Total
Regular Expression - Validate a field’s value by matching it against a provided regex pattern (following the ECMAScript format).
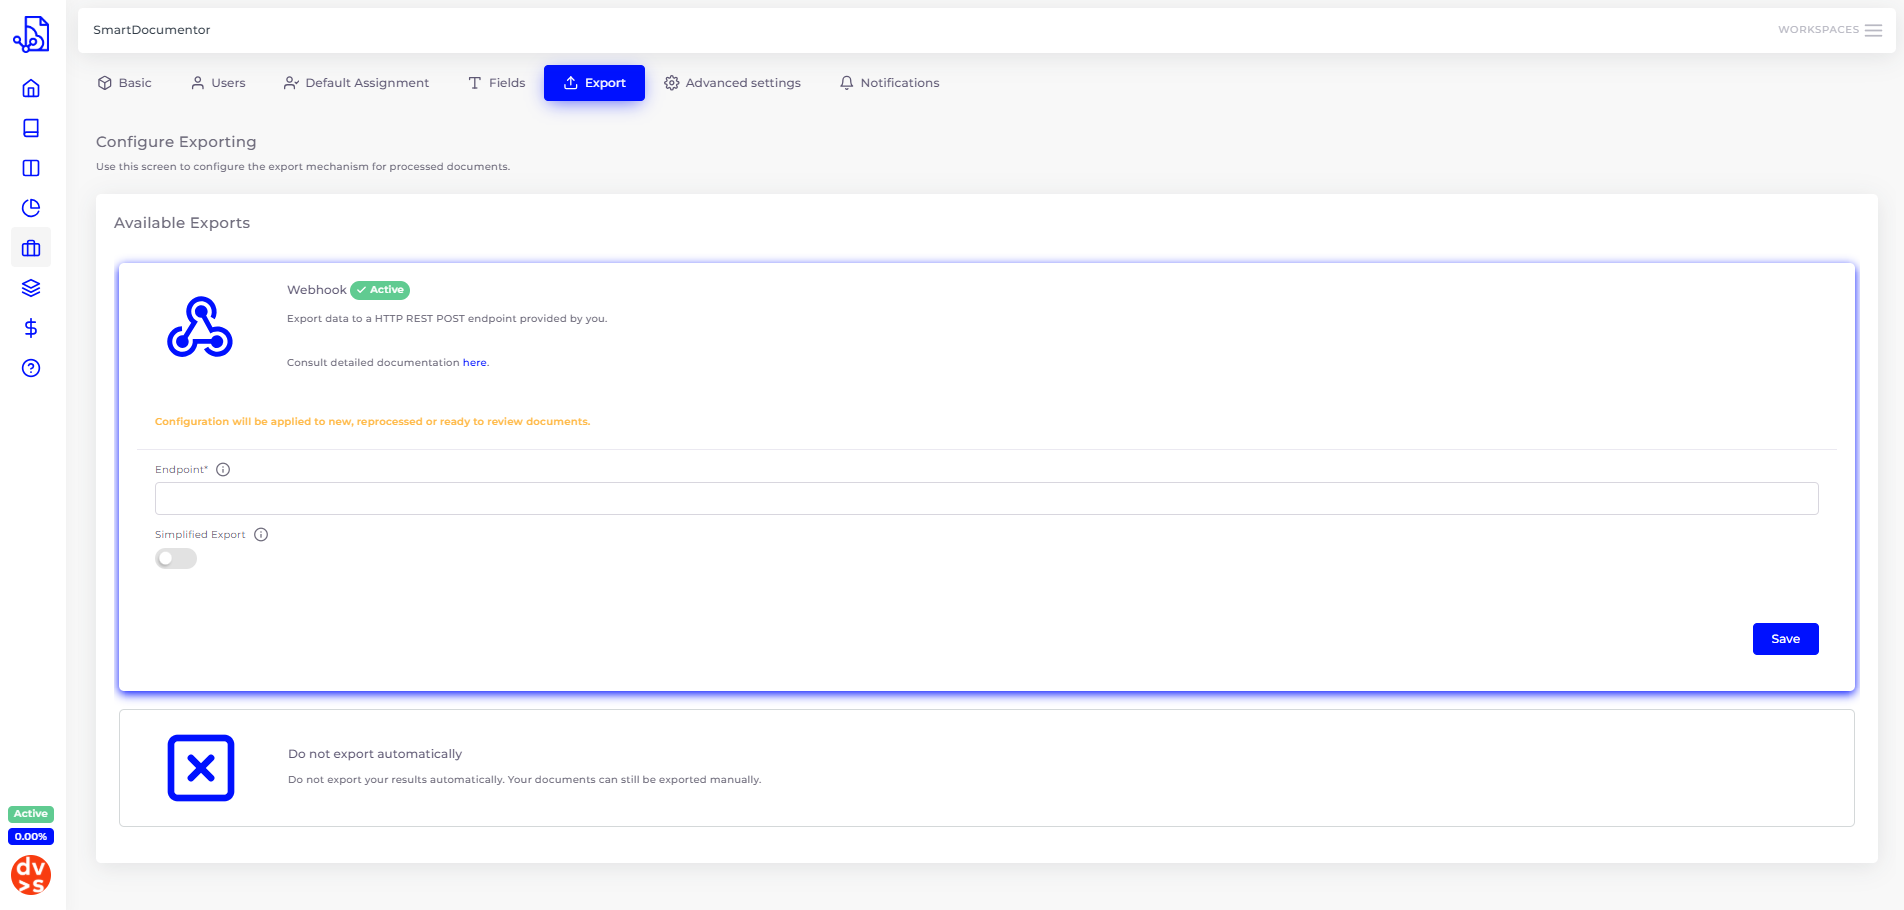
This section lets you configure SmartDocumentor’s automatic export mechanism, which can be triggered after the revision step is completed or once the document has been fully processed. SmartDocumentor uses webhooks to integrate seamlessly with most modern systems in a simple and efficient way.
As this is a more technical concept, we’ve provided a detailed explanation in the documentation. To learn more about how SmartDocumentor supports extensibility through webhooks, visit theWebhooks section.
This section allows users to configure a wide range of workspace settings, including confirmation modal displays, confidence score visibility for field recognition, automatic approval based on average confidence, review mode preferences, workspace removal, and more.
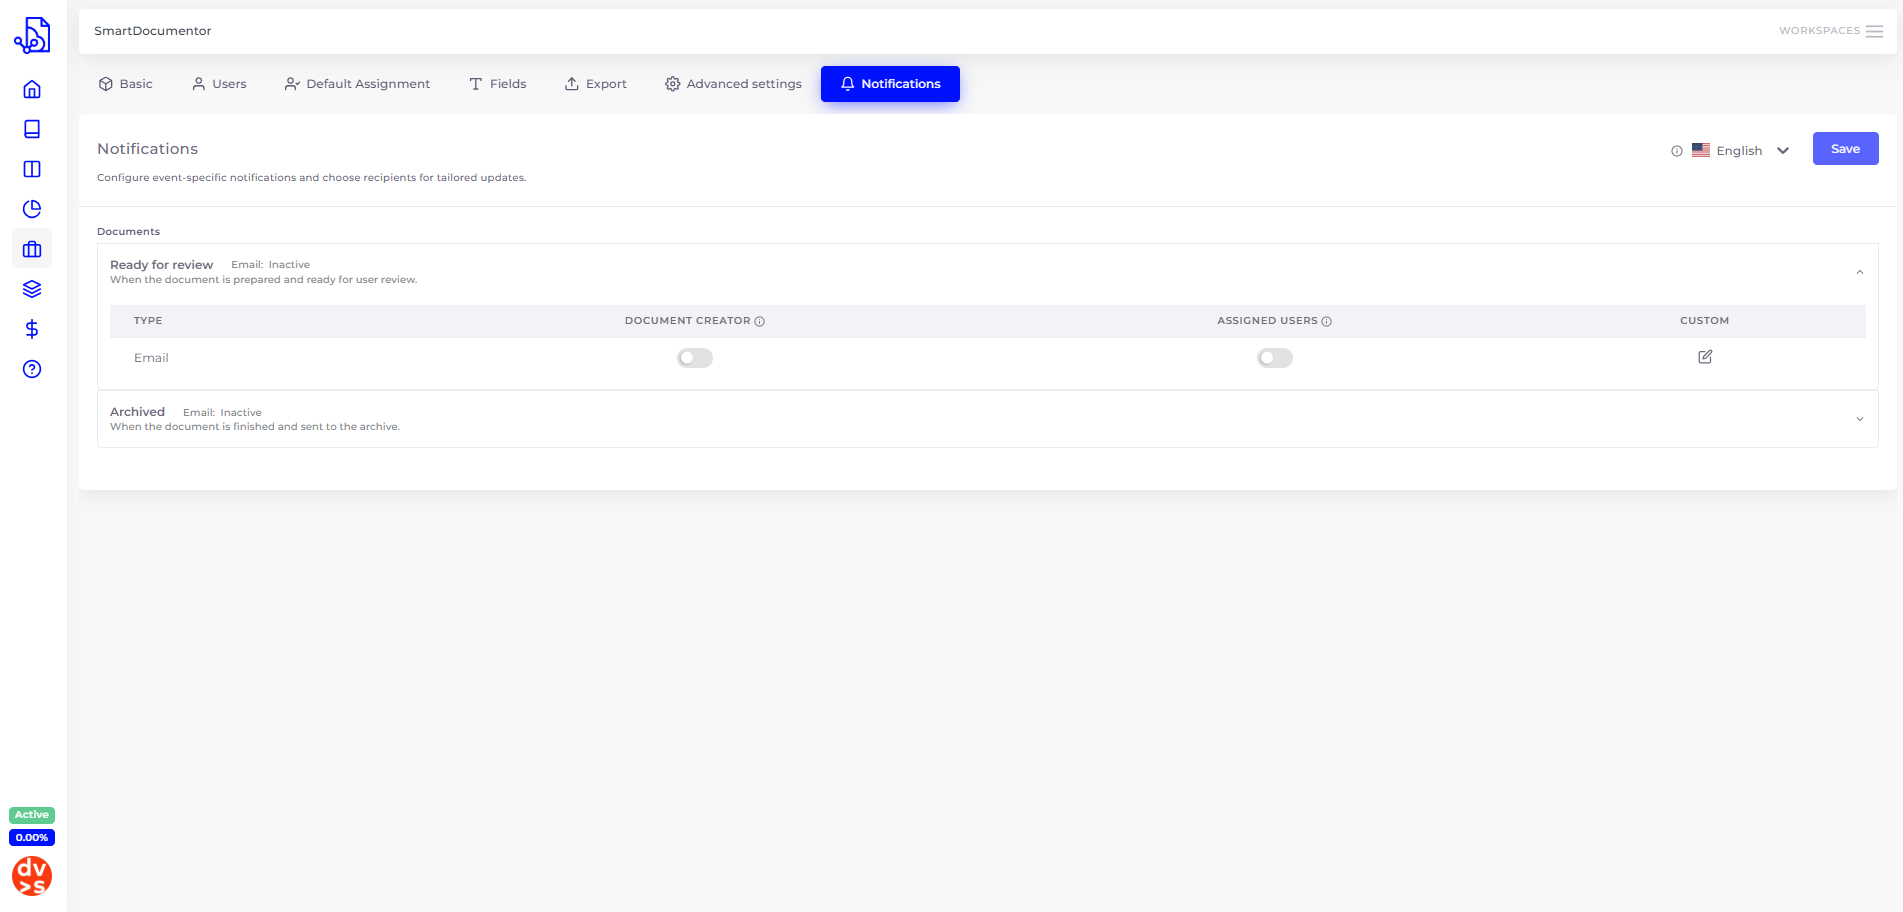
This section allows users to manage notification settings within the SmartDocumentor workflow. Notifications can be triggered at two key stages: when a document is ready for review and when it moves to archiving. By default, notifications are sent to the document’s creator and assigned reviewers. Additionally, any workspace members can be added as recipients using the custom option. You also have full control over the language used in the notification messages.
.png)
.png)