Configuring Delegated Authentication for SharePoint Connector⚓︎
- Ensure you comply with the pre-requisites at Pre Requisites Virtual Networks and Pre Requisites (in that order) and that you have sufficient permissions to create new App Registrations in Microsoft Entra ID.
- In Azure Portal, navigate to Microsoft Entra ID.
- In the top-left corner of the Microsoft Entra ID page, click "Add -> App registration".
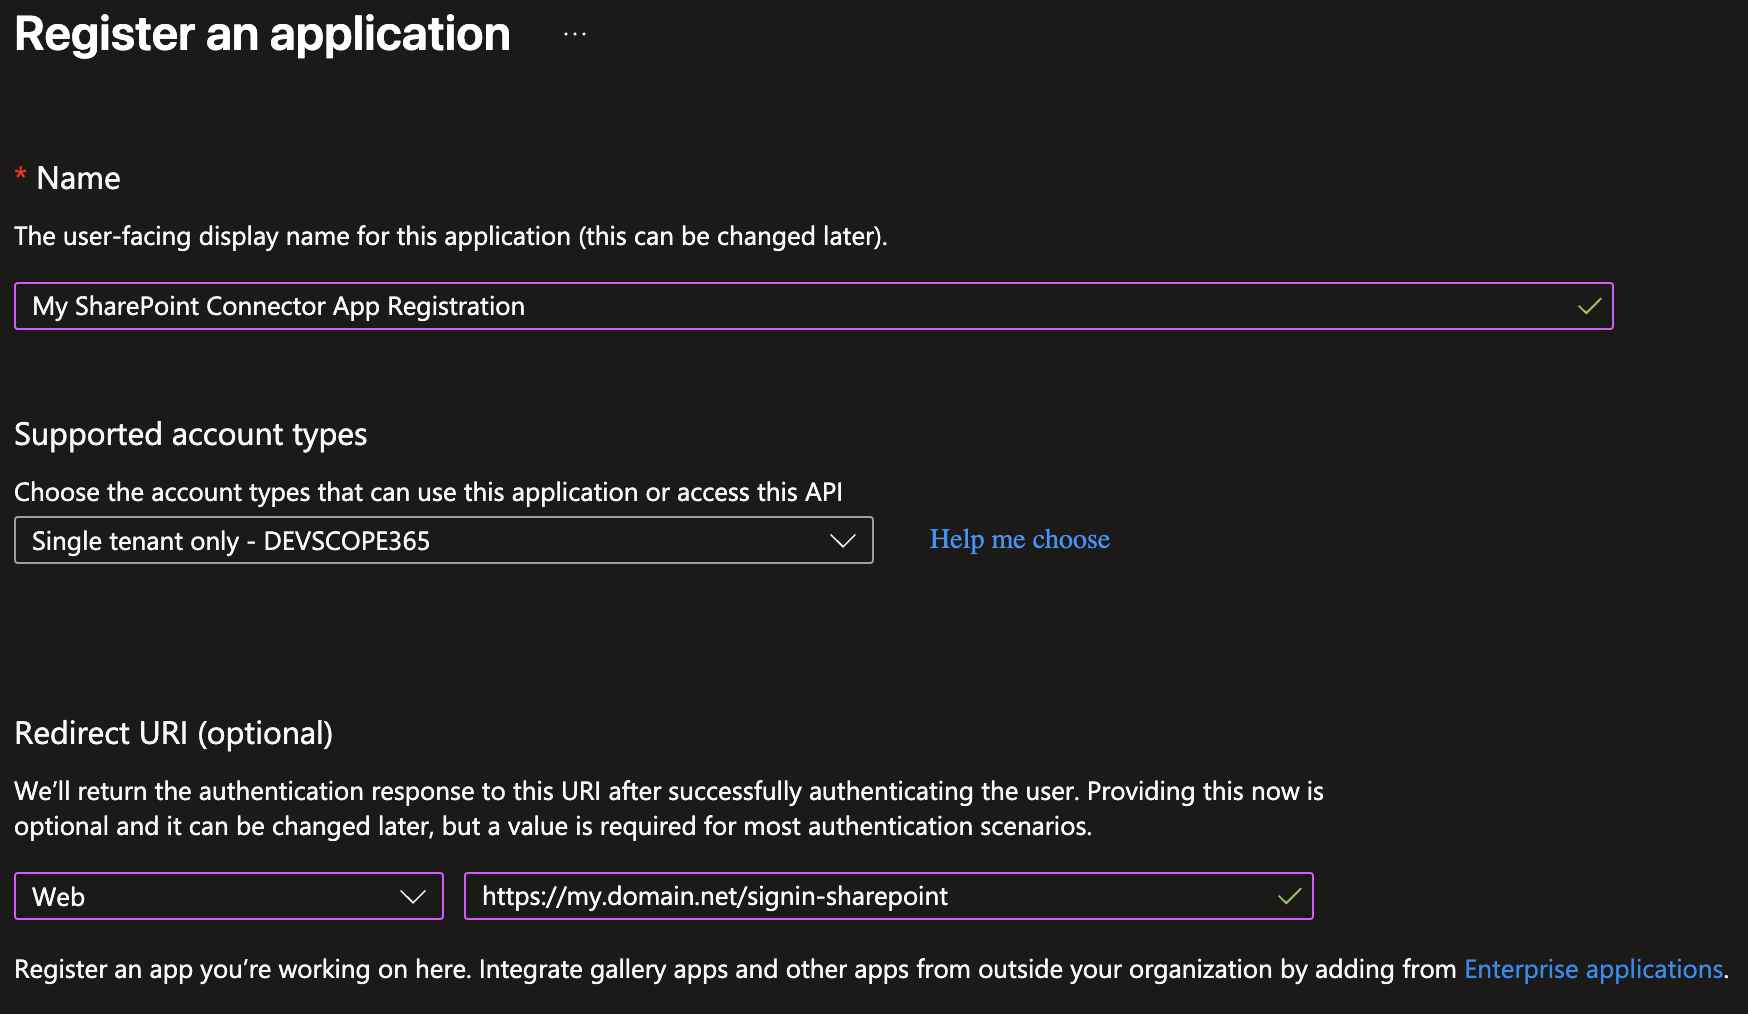
- In the next page, choose a name for your app. We recommend a memorable and unique name so you can easily reference this registration in the future.
- Choose which accounts can access your registration/app. We recommend setting "Accounts in this organizational directory only" (usually the default option), as this limits logins to users in your organization.
- Set your redirect URI: set platform to Web and the URI to something like
https://my.domain.net/signin-sharepoint.- If you have a Custom Domain set according to Adding A Custom Domain, set "my.domain.net" to that value.
- If you do not have a Custom Domain, use the default domain Azure assigned to the
smart-documentorContainer App. You can find this by navigating to thesmart-documentorresource and copying the URL in the Overview page underApplication Url. - Your final registration will look something like this. Hit "Register" once done.
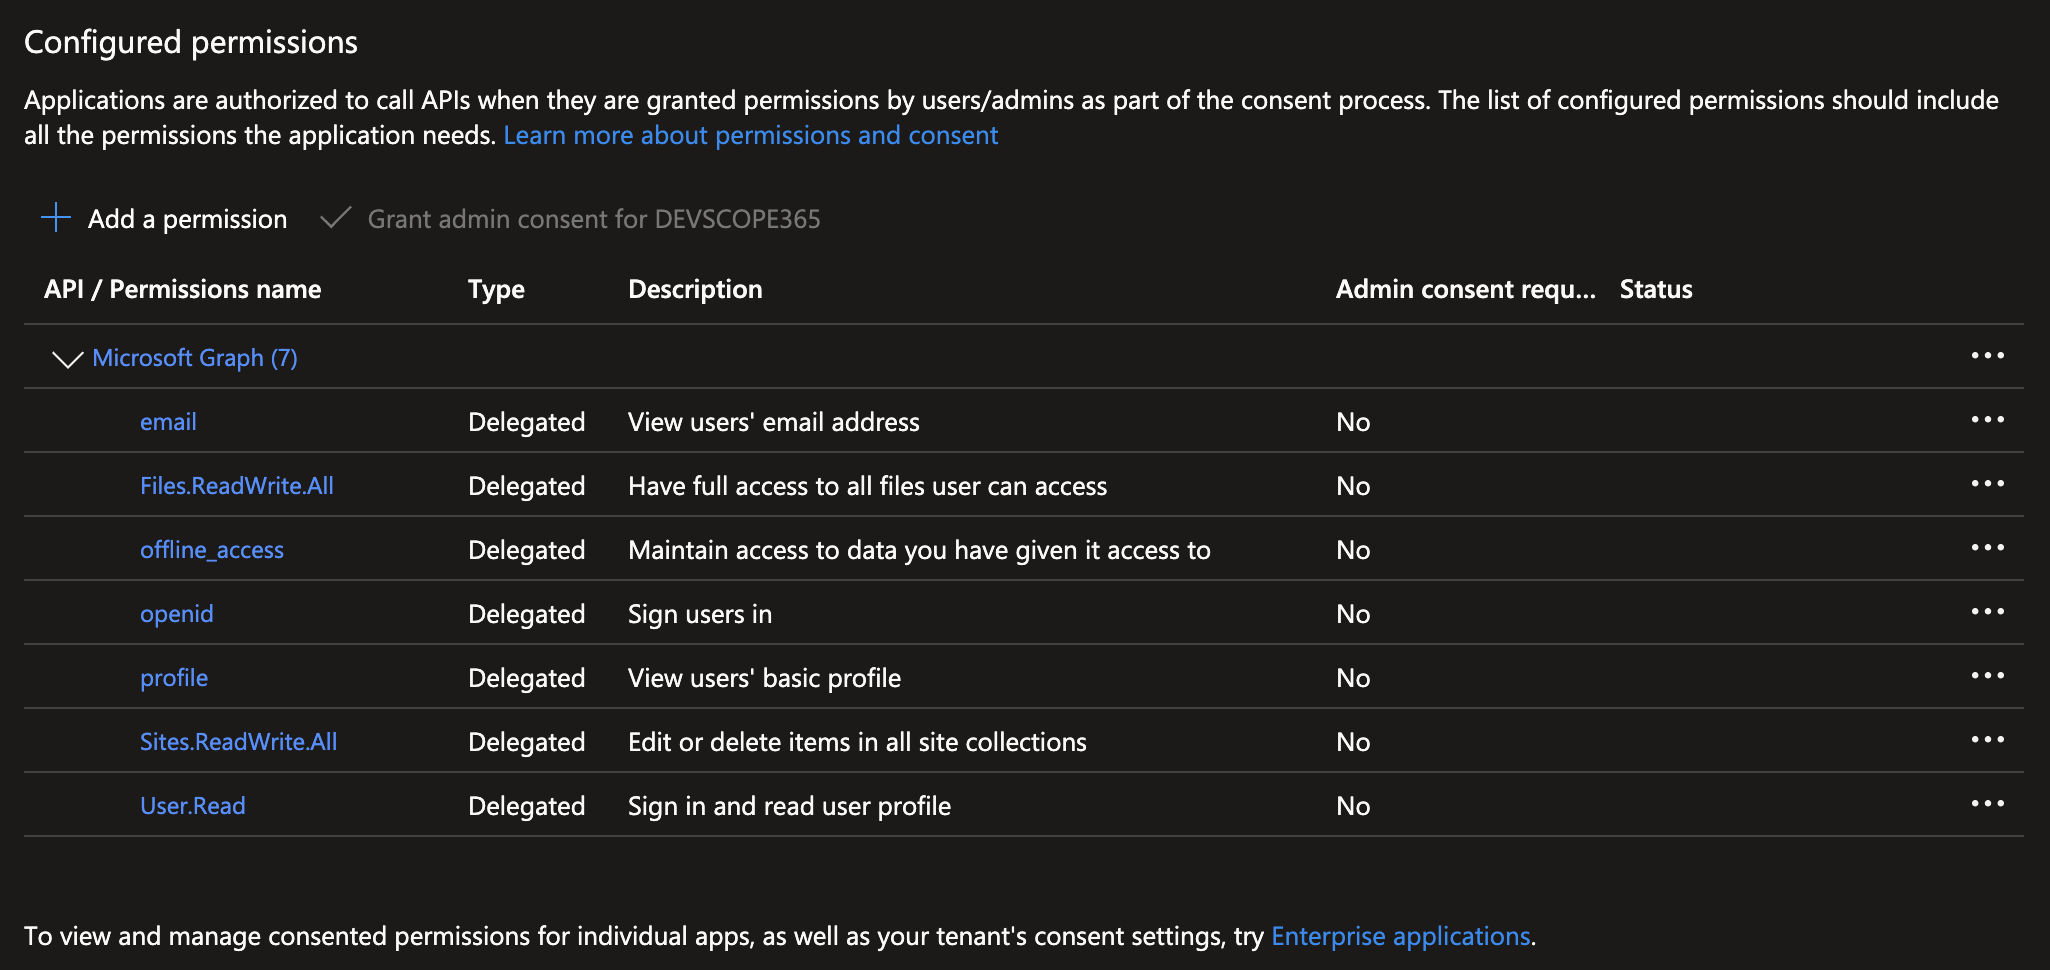
- In the App Registration page, head to "API permissions" and click "Add a permission" -> "Microsoft Graph" -> "Delegated permissions".
- Add the delegated permissions required by your SharePoint integration scenario.
- Typical sign-in related scopes include
openid,profile,email,offline_accessandUser.Read. - The main permissions required for SharePoint access are
Files.ReadWrite.AllandSites.ReadWrite.All. - Your final permissions list should look something like this.
- Typical sign-in related scopes include
- If required by your permissions, click "Grant admin consent" with an account that has the necessary privileges.
- In the App Registration page, head to "Certificates and Secrets", open the "Client secrets" tab and click "New client secret". Name your secret and assign it a suitable expiration according to your compliance and security requirements.
- Once created, copy the Value of the created secret to a secure temporary place. You won't be able to view this value after you leave this page.
- Navigate to the "Overview" tab of the app registration, and copy the
Application (client) IDvalue. - With these two values copied, navigate to the resource group and find the Key Vault resource with the name
kv-app-config-xxxxxx, where the last 6 characters are unique to your deployment.- Click the "Secrets" tab under "Objects" on the left.
- Add the following five secrets with the following parameters:
- Name:
Authentication--SharePointConnector--Active, with valuetrue. - Name:
Authentication--SharePointConnector--Settings--ClientId, with the value set to the Client ID you copied in the previous step. - Name:
Authentication--SharePointConnector--Settings--ClientSecret, with the value set to the Secret Value you copied in the previous step. - Name:
Authentication--SharePointConnector--Settings--CallbackPath, with the callback path configured in the redirect URI, such as/signin-sharepoint. - Name:
Authentication--SharePointConnector--Settings--Scopes, with the value set to the same scopes configured previously in the API permissions step above.
- Name:
- Optionally, if you need to restrict which origins can use this authentication flow, add the
AllowedOriginsvalues as separate array entries.- For the first value, use
Authentication--SharePointConnector--AllowedOrigins--0. - For a second value, use
Authentication--SharePointConnector--AllowedOrigins--1, and so on. - Set each secret value to one allowed origin, such as
https://my.domain.net.
- For the first value, use
- Navigate to the
smart-documentorContainer App and click the "Containers" tab under "Application". In this page, click "Save as a new revision" and wait until the revision is applied. If "Save as a new revision" is not available, simply disable and re-enable the container in the "Overview" tab. - If you open SmartDocumentor and start the delegated authentication flow for a SharePoint connector, the application should now use the App Registration you configured.
Info
"Save as a new revision" is equivalent to an application restart. For configuration secrets to be applied, a restart is always necessary.