Main concepts⚓︎
Navigating SmartDocumentor⚓︎
Navigation in SmartDocumentor is handled through the side menu, which you can expand or collapse by clicking the circle next to the product logo.
SmartDocumentor's menu contains the following options:
- Home - Access a dashboard where you can create new workspaces, navigate existing ones, and review the oldest documents pending review.
- Documents – Process and review files of various types, from invoices to audio files.
- Templates – Train custom models to extract and process data from new templates beyond the standard pre-trained models.
- Statistics – View metrics and insights related to your organization’s data.
- Workspaces – Configure settings for the current workspace.
- Organization – Manage your organization’s settings and user structure.
- Licensing – View and manage your subscription's details.
- Help - Access documentation and support resources.
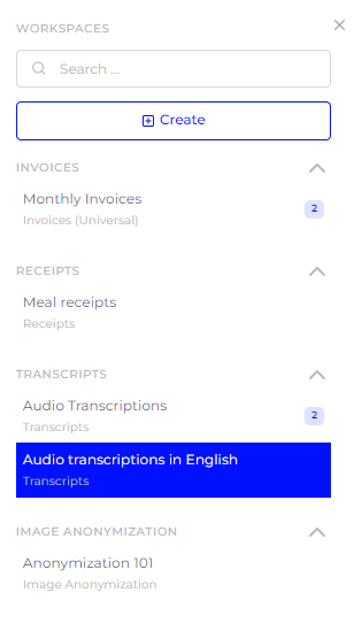
Additionally, on most relevant pages you’ll find a Workspaces menu on the right side of the screen, opposite the main menu. From there, you can create new workspaces, switch between existing ones, and view the number of tasks pending review for each.
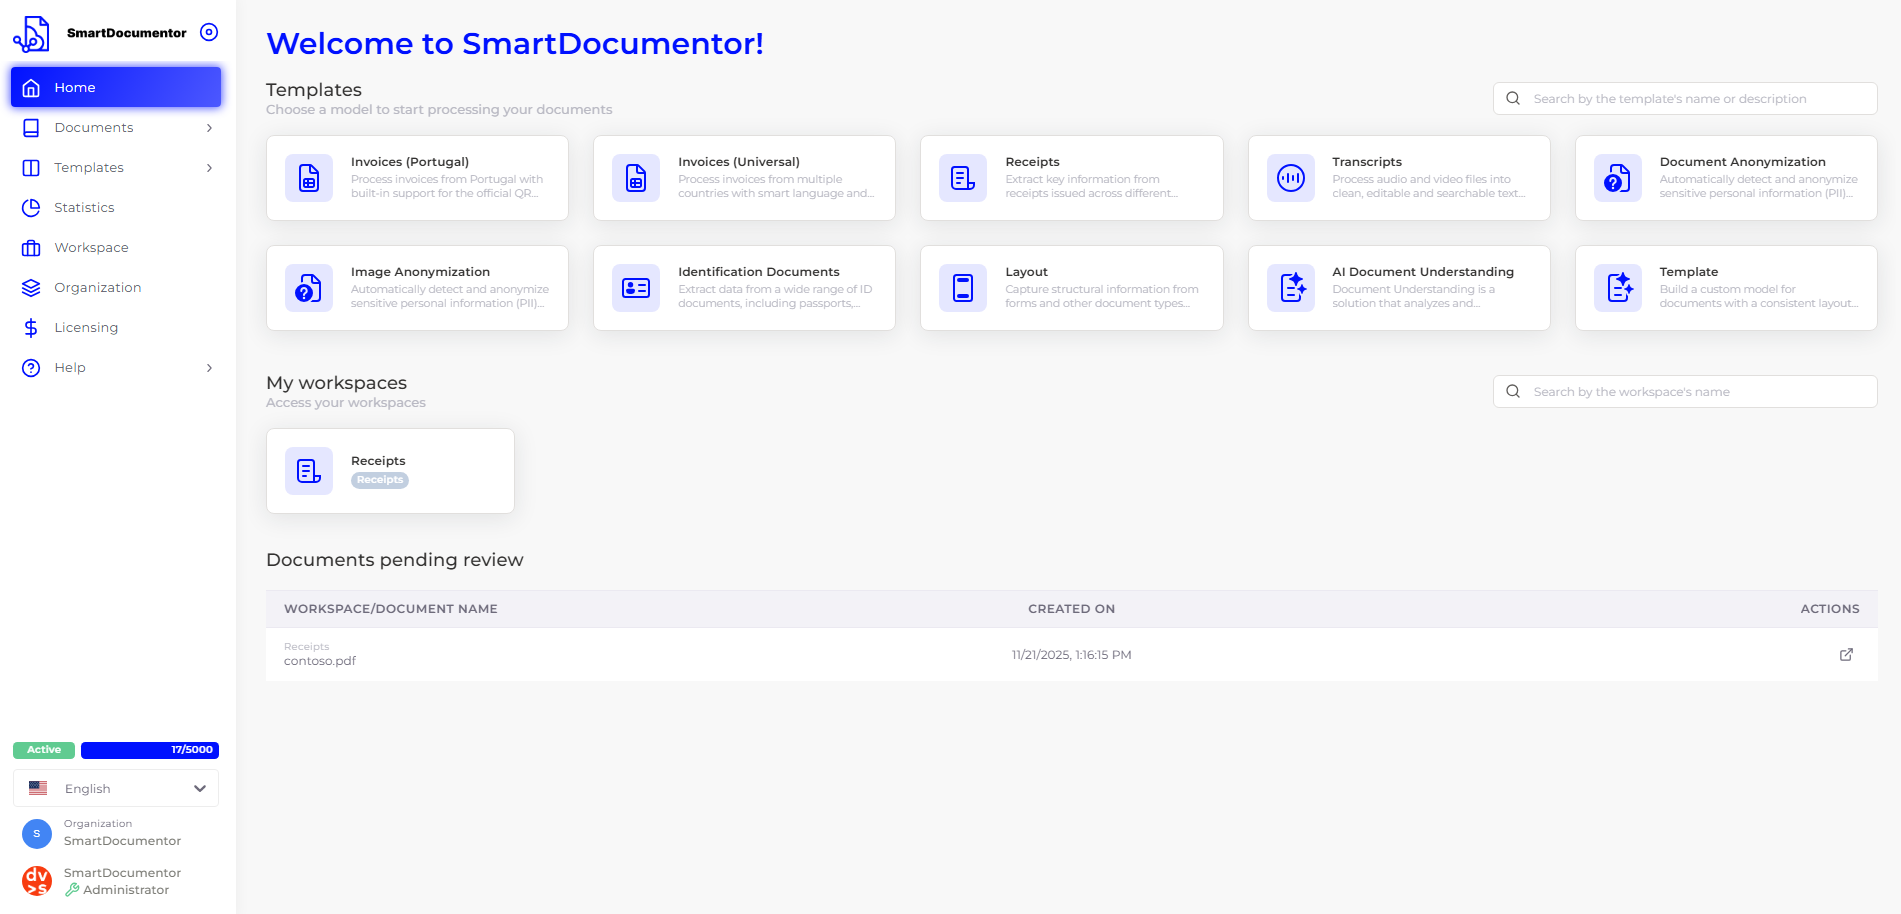
Home⚓︎
Home is the first point of contact with the platform. From here, you can quickly create a new workspace, access an existing one, import documents, or manage workspace settings. You can also view a list of the oldest documents pending review.
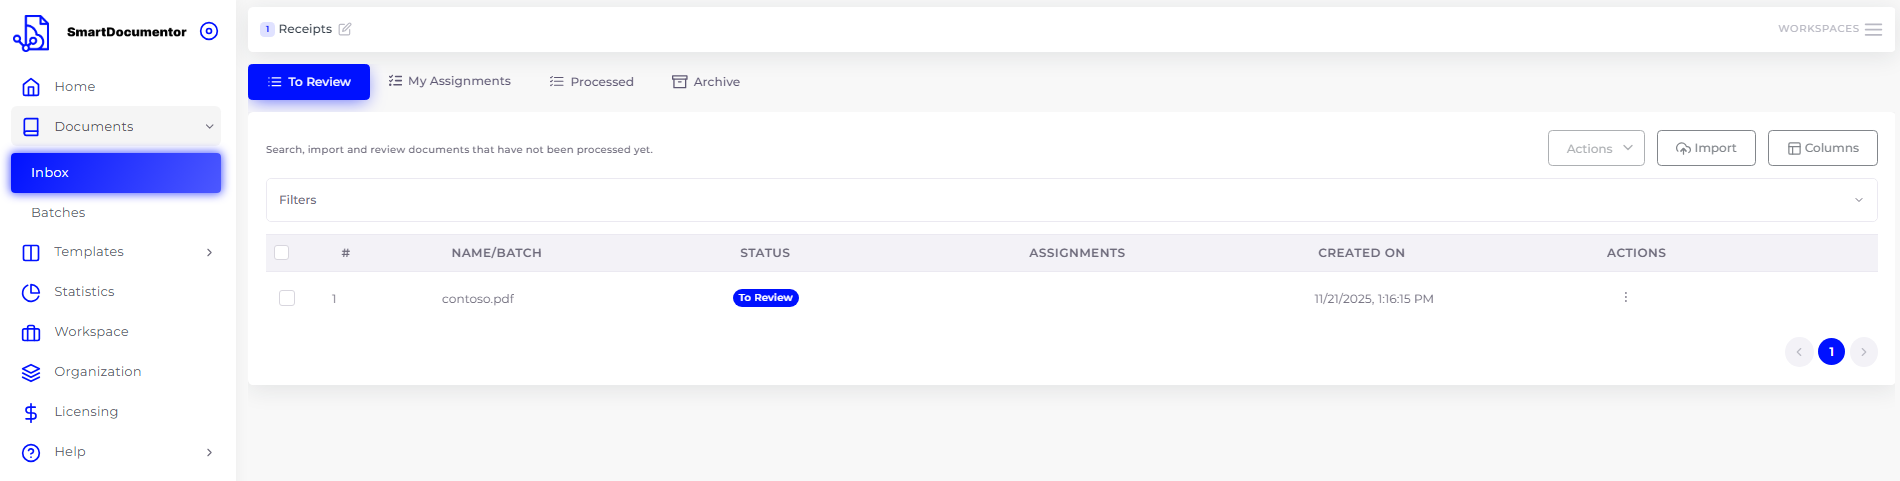
Documents⚓︎
Most of a user’s time in SmartDocumentor will be spent in the Documents section, which is divided into four tabs: To Review, My Assignments, Processed, and Archive.
- To Review - Contains all tasks that require user review.
- My Assignments - Shows a pre-filtered list of tasks specifically assigned to the user.
- Processed - Stores reviewed tasks. By default, they remain here for 31 days before being automatically removed and moved to the Archive.
- Archive - Contains tasks that have been manually deleted and automatically archived after leaving the Processed subsection.
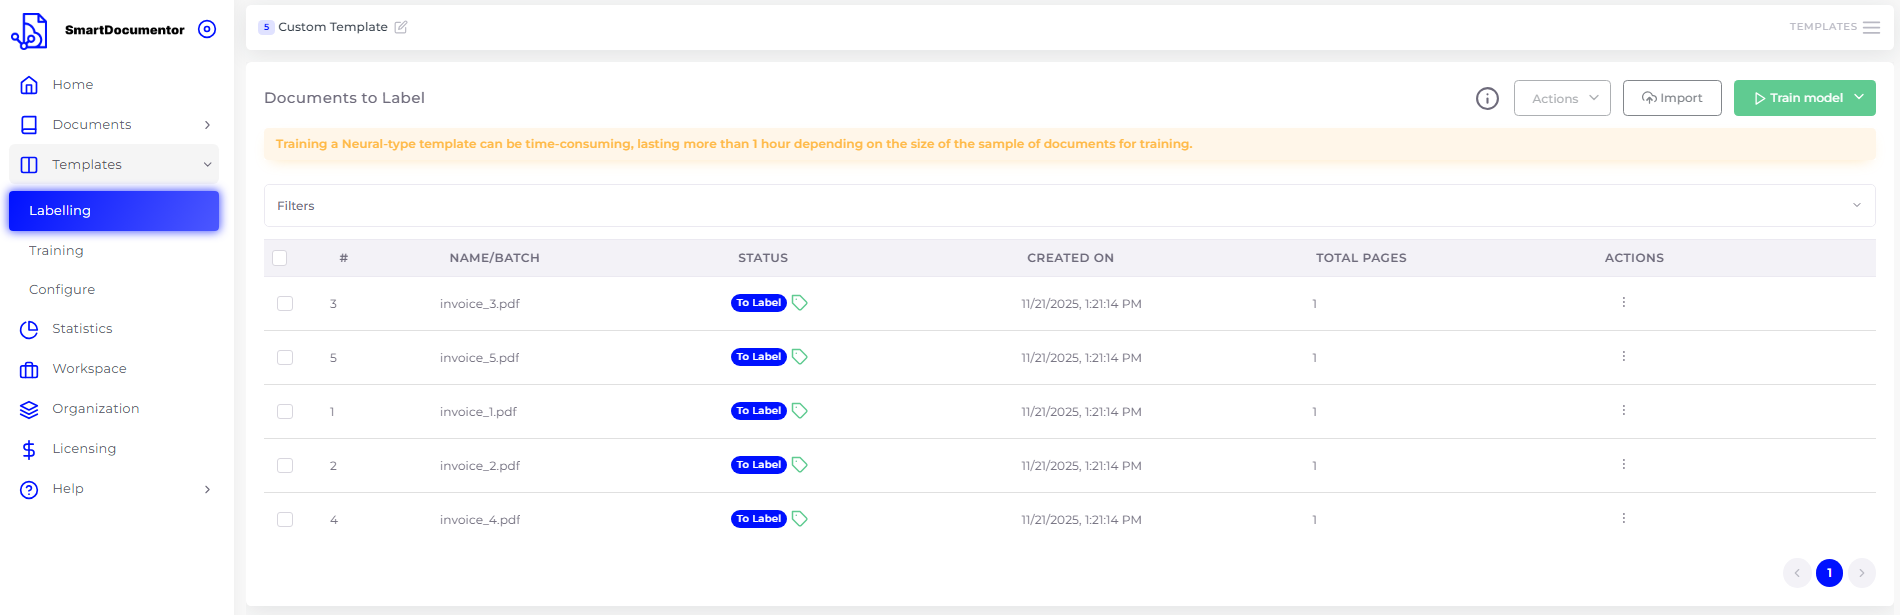
Templates⚓︎
Below the Documents section is Templates, where users can create custom document templates and train the AI to recognize and extract fields specific to those models.
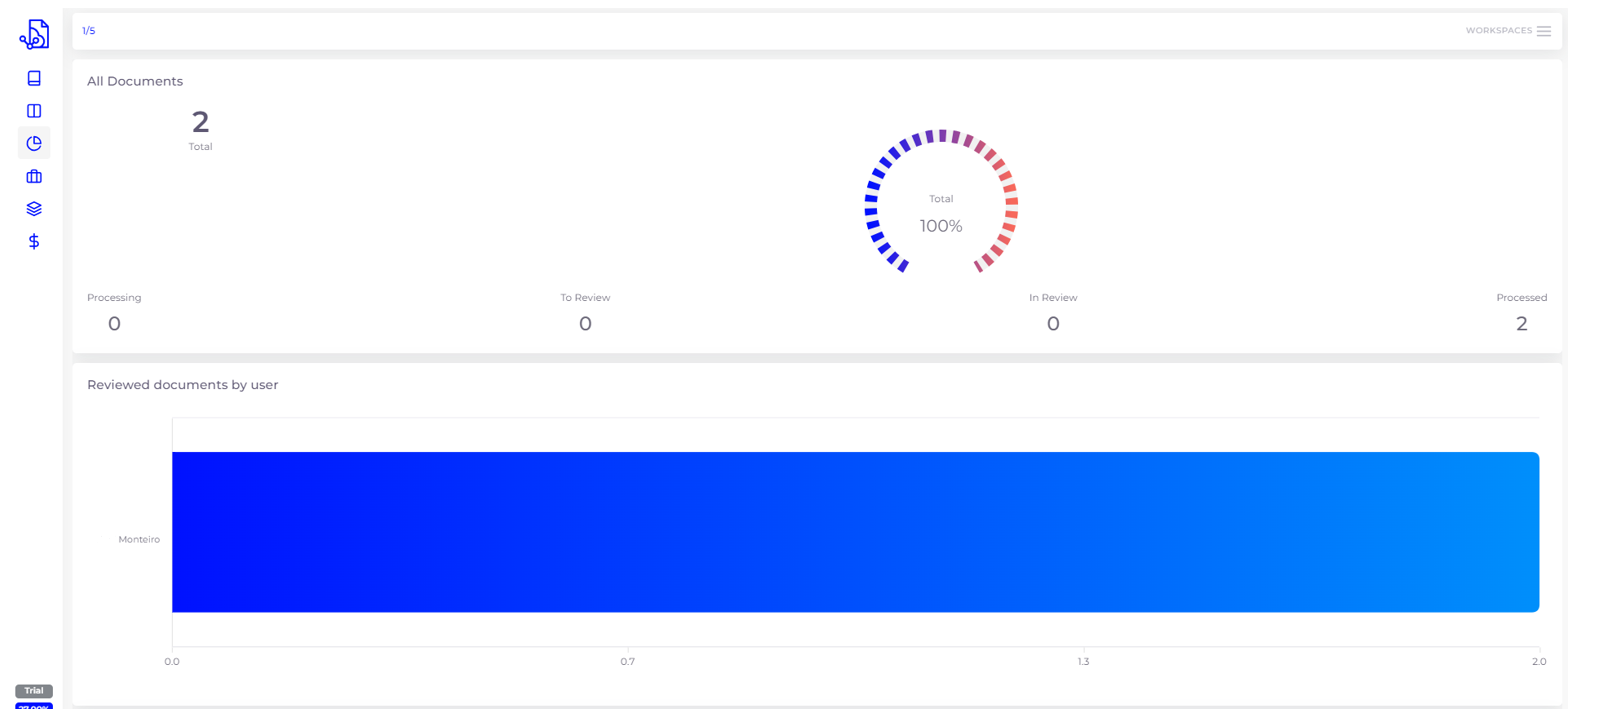
Statistics⚓︎
Next is the Statistics section, which provides an overview of key metrics related to the work being performed in your workspace. You can select individual workspaces to view their data or choose multiple workspaces to generate an aggregated report.
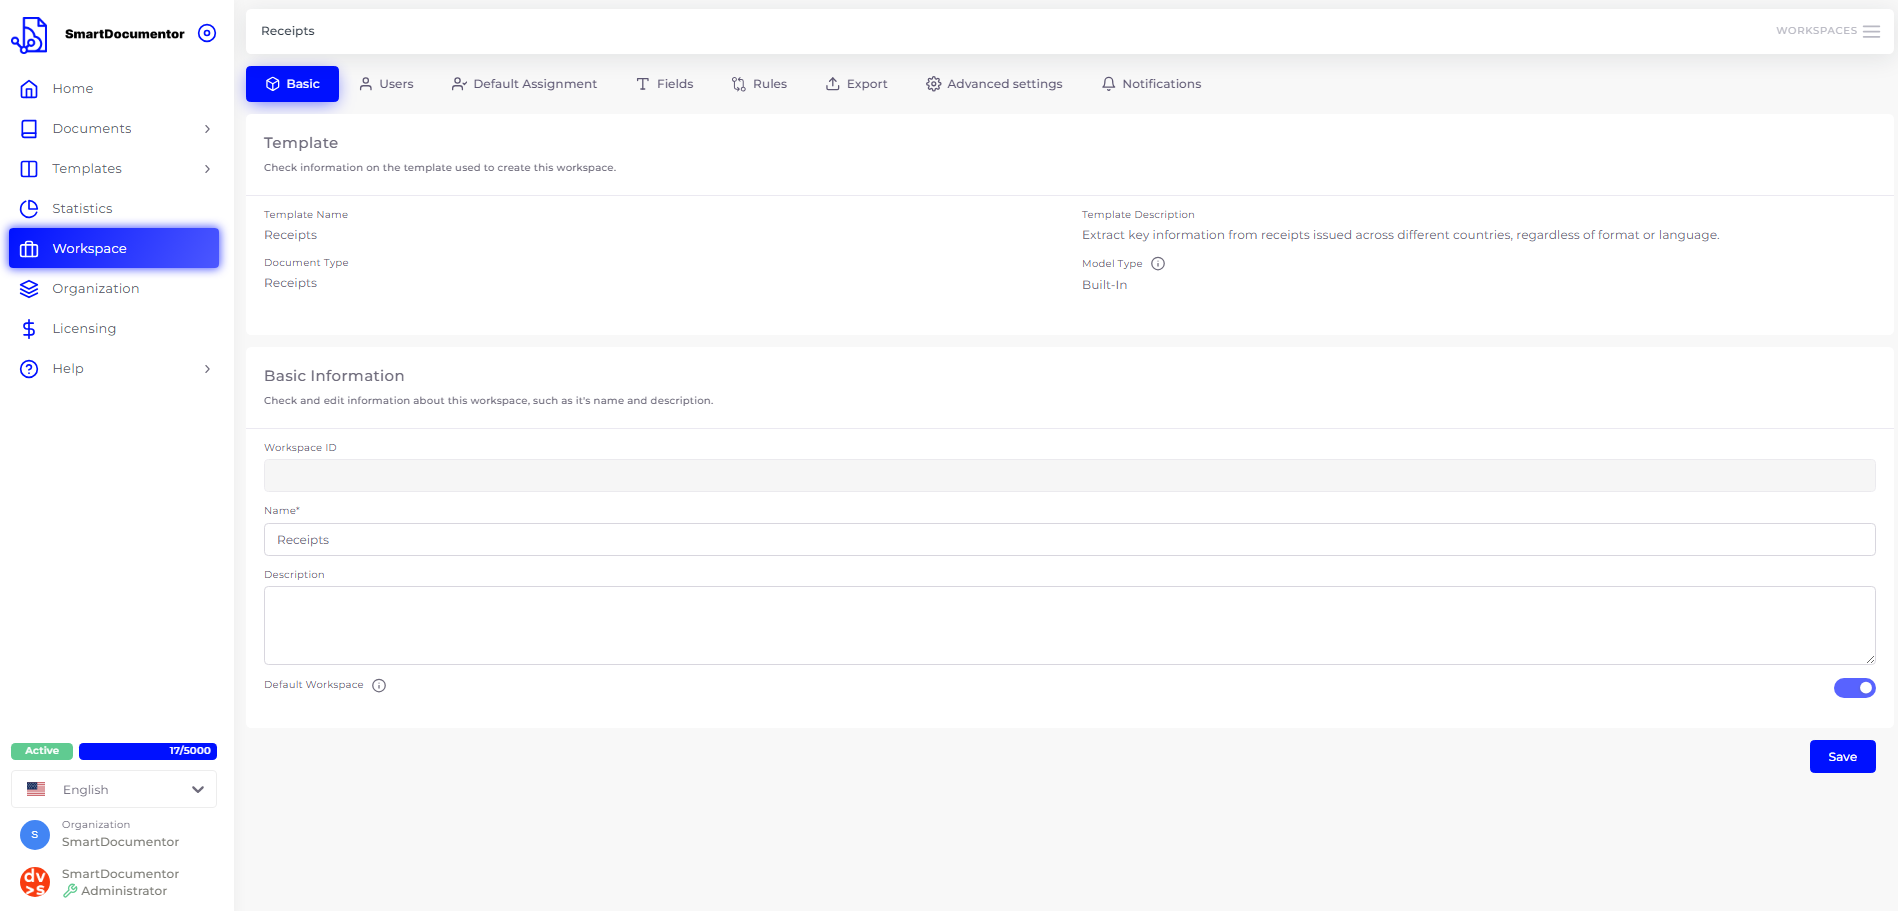
Workspace⚓︎
As the name suggests, Workspace is where you manage the settings of the current workspace. This includes configuring the workspace name, managing users and assignments, setting up notifications, adjusting general settings, and more. Depending on the workspace type, additional workspace-specific subsections may also be available.
Organization⚓︎
The next section is Organization. Here, you can update your organization’s name, manage organization-wide user permissions, and configure API authentication credentials and connectors.

Licensing⚓︎
A SmartDocumentor license provides a set number of credits that users can spend. In the first subsection of the Licensing section, you can purchase and activate a license. The second one displays a history of how your credits have been used. If you want to try SmartDocumentor before purchasing a license, you can create a trial account, which comes with 30 credits to use freely.
Help⚓︎
The Help section provides access to this documentation and offers guidance for contacting support if needed.