Quickstart 101⚓︎
Account creation and login⚓︎
The first step is to go to the SmartDocumentor platform page. Once you access it, the login screen will be displayed.
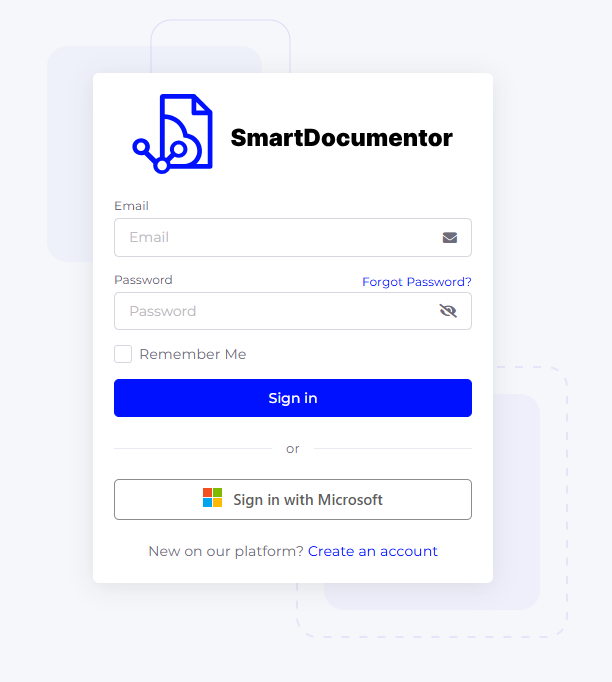
On this screen, you can:
- Log in to the platform if you already have an account.
- Create a new account by clicking on 'Create an account' or sign in directly using the ‘Sign in with Microsoft’ option.
After creating a SmartDocumentor account, you will receive a verification email. Check the inbox of the email address you used during registration to complete the verification process.
First login and workspace creation⚓︎
When you first sign in to SmartDocumentor, you will be greeted by the platform’s Home page, where you can view all available built-in templates.
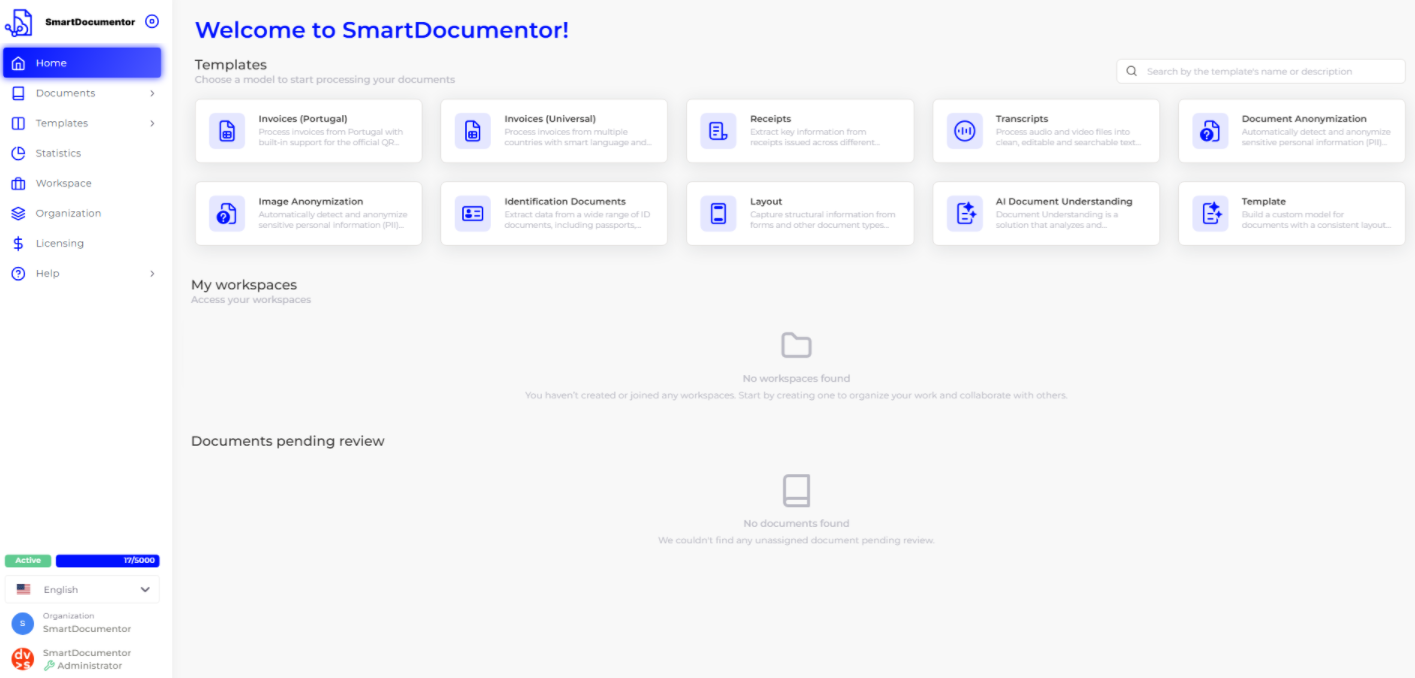
From here, you can create a workspace by selecting the template you want to use. Depending on the chosen template, a small window may appear prompting you to configure some required settings.
After creating the workspace, you will be automatically redirected to the Documents Inbox page of your newly created workspace.
Importing and recognizing documents⚓︎
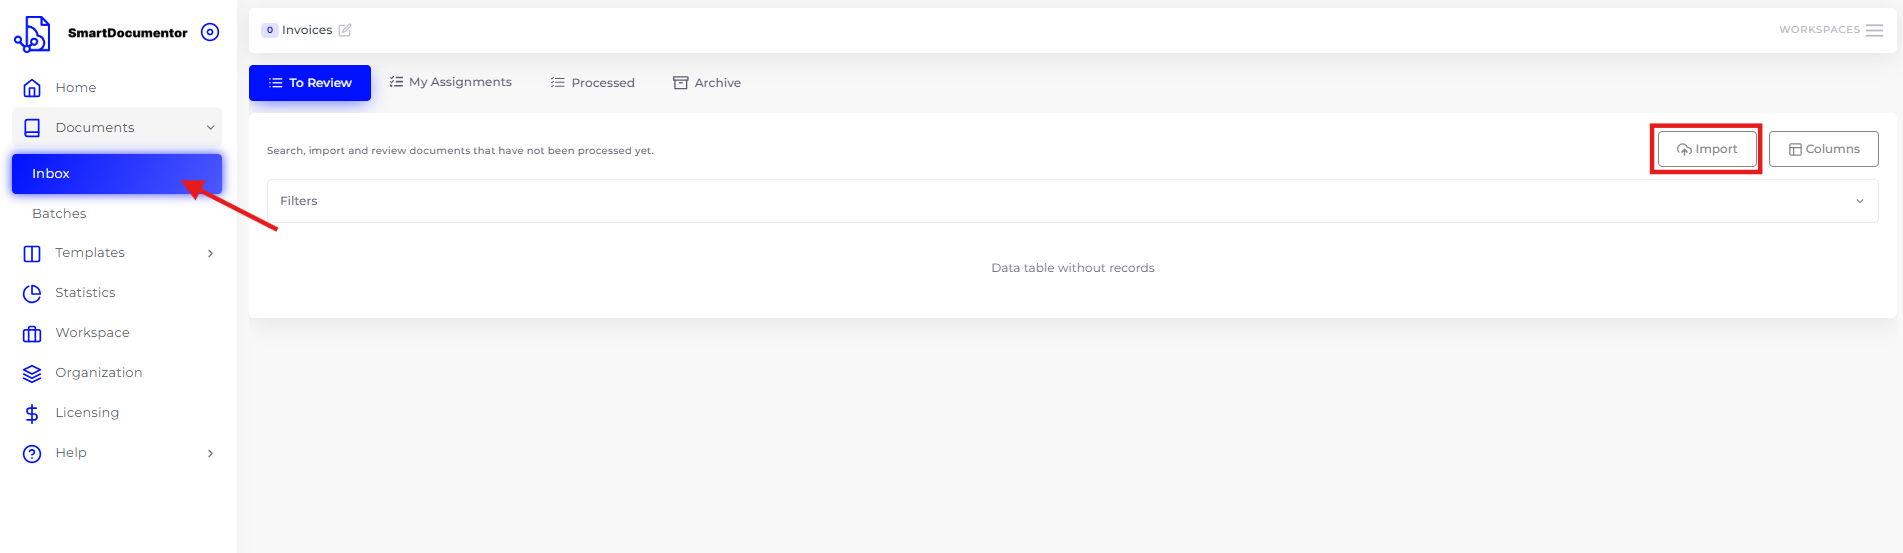
First, you need to upload the documents you want to process. In this example, a workspace has been created for detecting invoice fields.
Please follow the next steps to achieve a smooth upload:
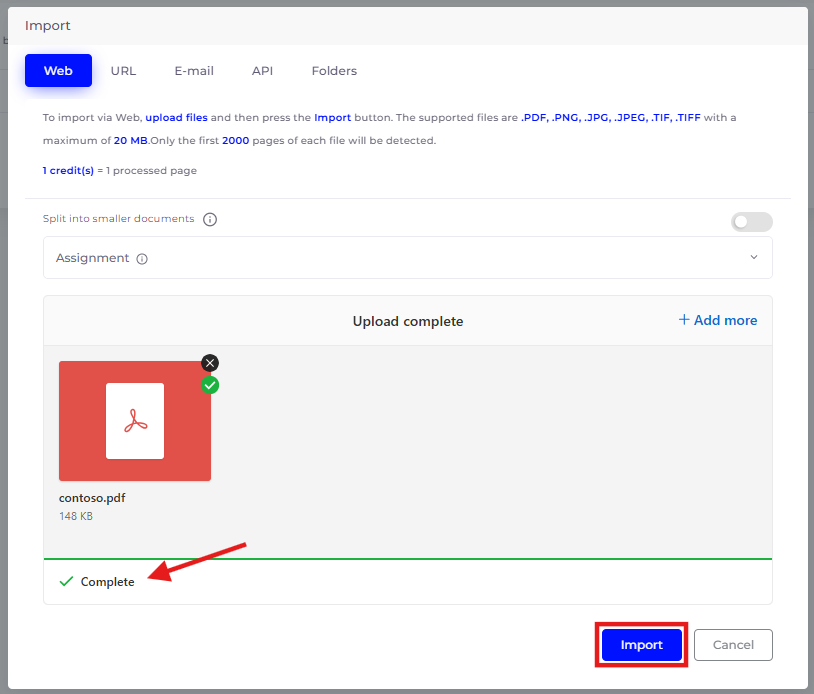
- On the ‘Inbox’ page, click on the button labelled ‘Import’.
- After clicking, a screen will appear where you can upload a file directly from your device, either by browsing your system’s folders or by dragging and dropping the file.

- You can also assign the document to a specific set of users using the ‘Assignment’ option. These assignments can be made at the time of import, or they can be configured in the workspace and applied to all imports. For more details on this configuration, visit our Default Assignments section.
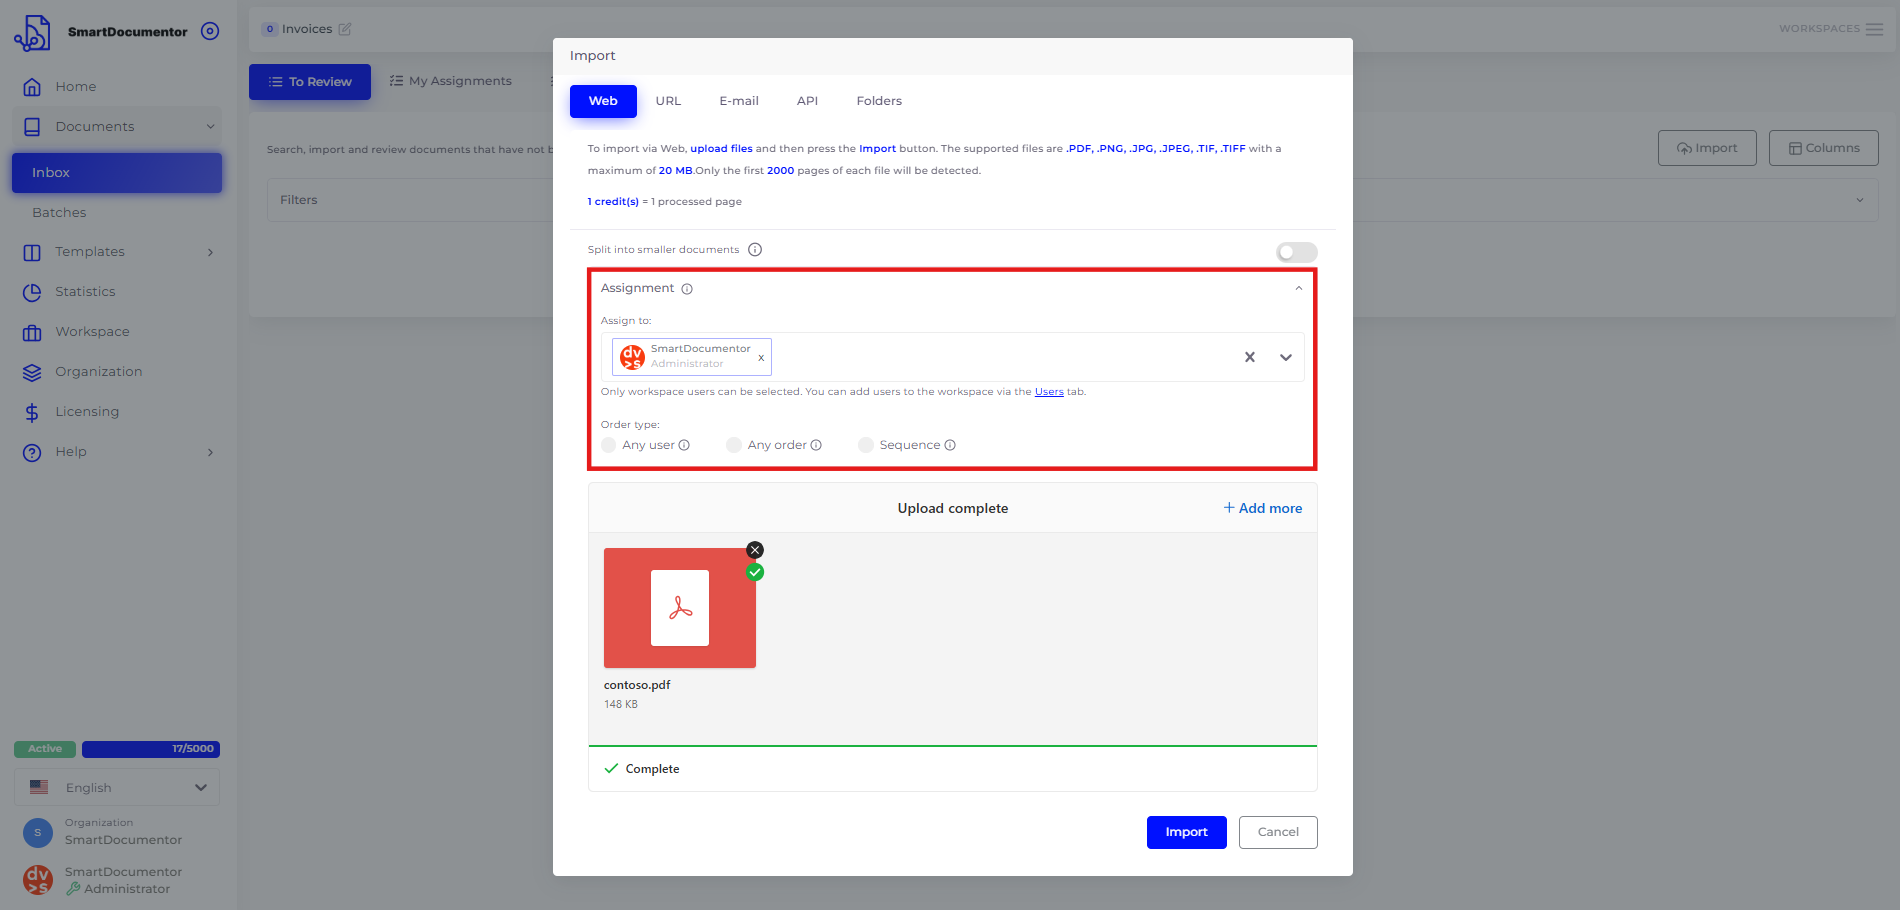
- Once the upload is complete, you can confirm the file import, prompting SmartDocumentor to begin processing the document.
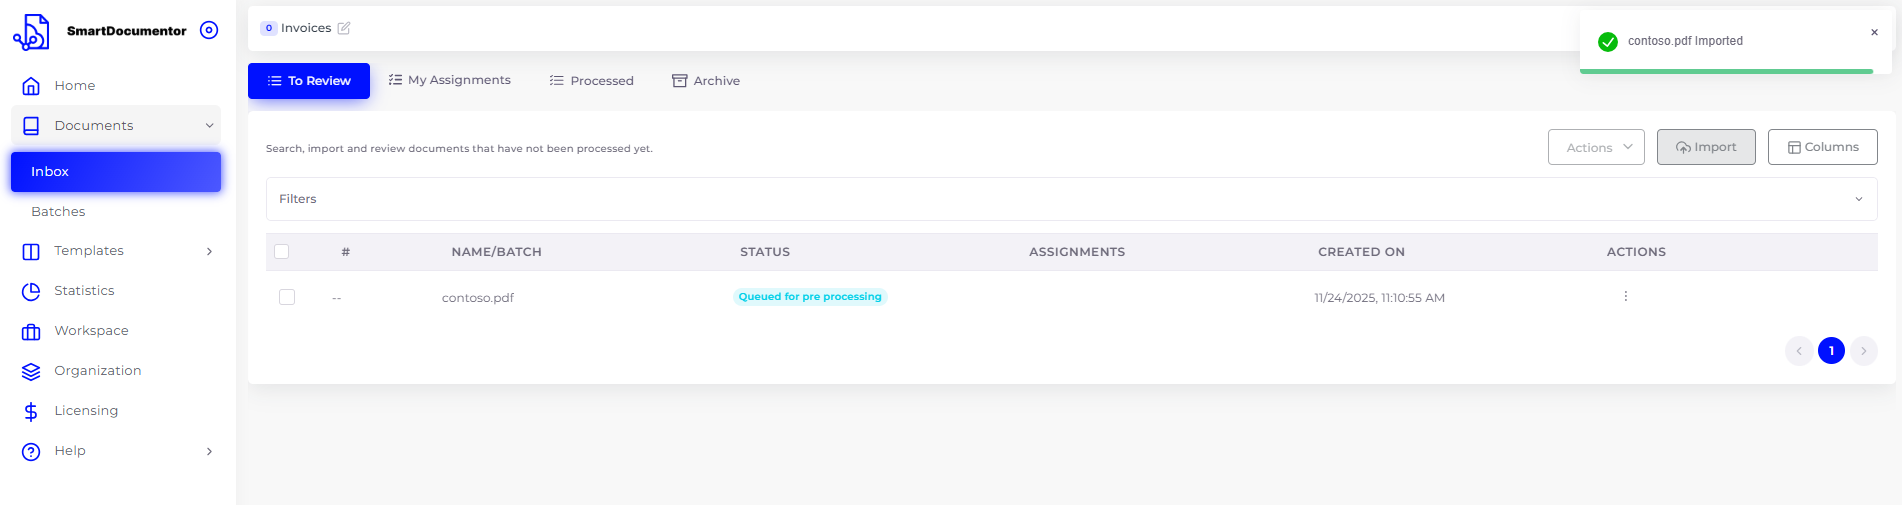
- When processing is complete, the document will appear in the list on the Inbox page with the status “To Review.”

Reviewing and exporting information⚓︎
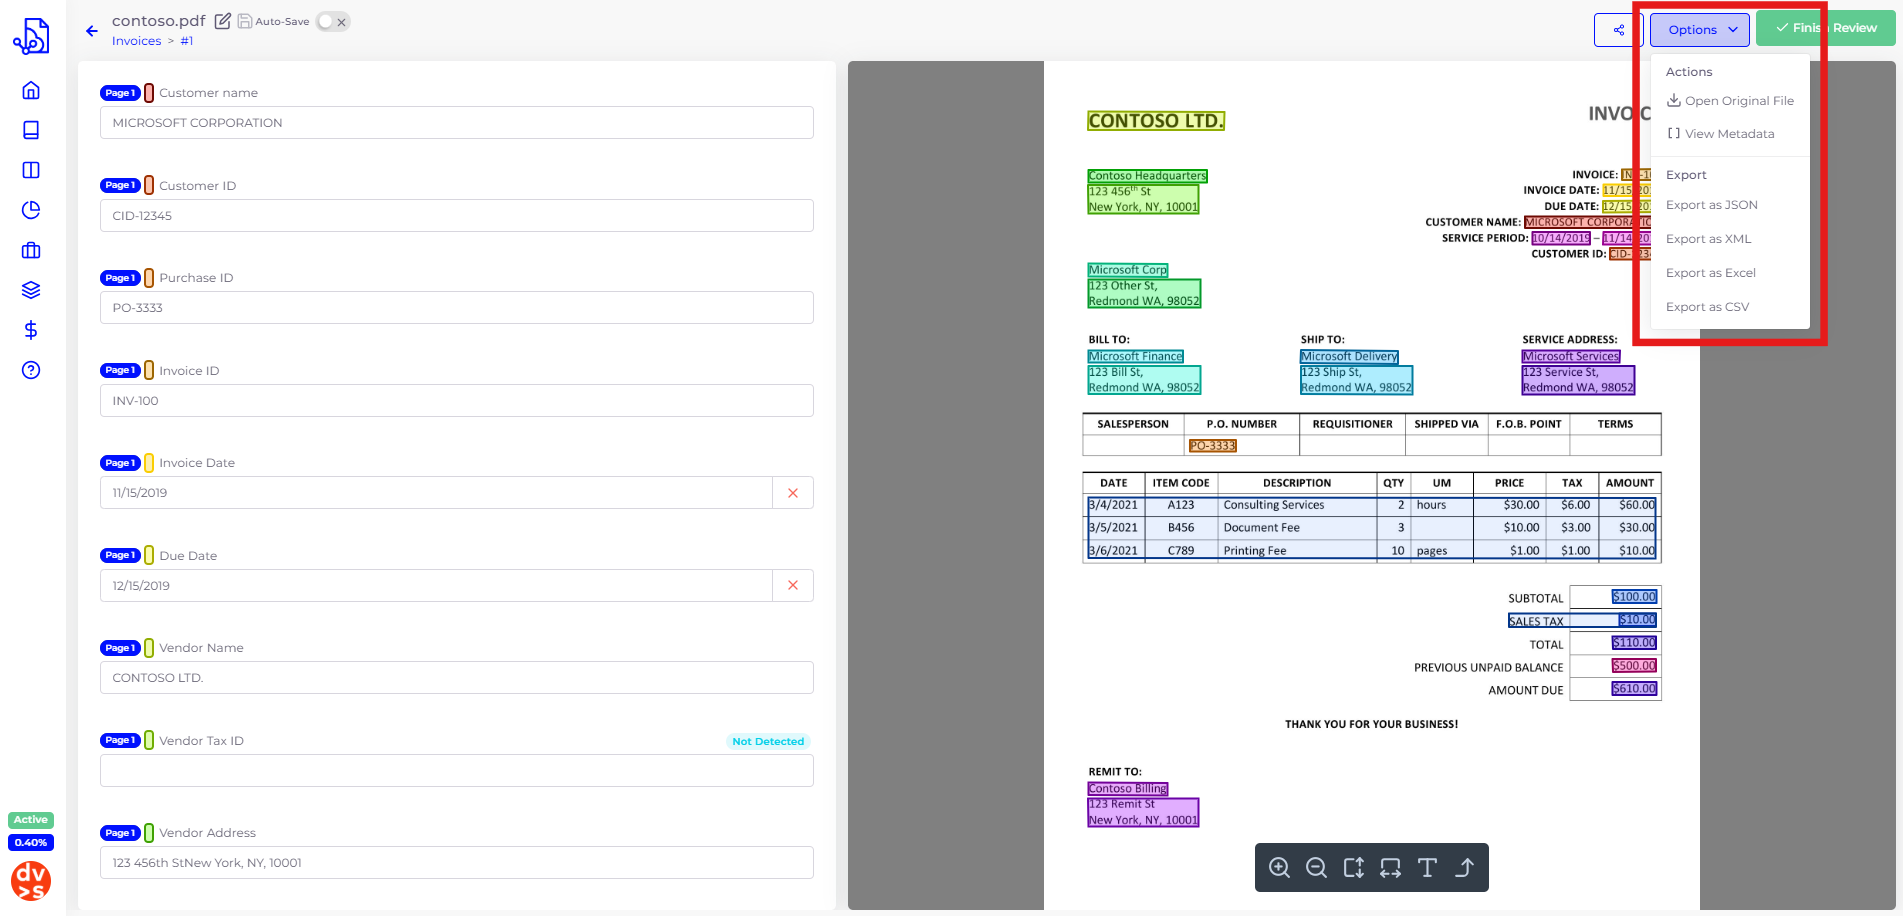
Clicking the record will open the review screen, where you can view all information related to the document, including the fields that were automatically detected.

The review step allows you to validate the information captured by SmartDocumentor’s detection mechanisms. During this stage, you can correct, add, or edit any information in the document.
Once the review is complete, you can export the document’s data in a structured format. The exported data can then be used or manipulated as needed. SmartDocumentor currently supports export to JSON, XML, XLSX and CSV.
If you’ve successfully completed this first interaction, we recommend visiting our Main Concepts page to learn more about the key ideas and functionalities behind the platform.