Initial Setup⚓︎
SmartDocumentor exposes an HTTP REST API so you integrate directly with our system. This API allows you to create and retrieve information about tasks and workspaces.
The API is available at API Definition page.
Server-to-server API
Our API is is meant to be used on your backend server or process. Do not call this API directly in public clients such as browsers as you will expose your access credentials.
Creating Account⚓︎
If you have not already, head to SmartDocumentor platform to create your free account. You will be required to validate your account via the email you registered with.
Your account will be automatically assigned an Organization. This is your application tenant, which you can manage as an administrator with full access privileges.
You can change your account name and details in the User page, or by clicking on your user in the bottom-left corner of your screen and selecting Profile.
You may also change your Organization's details and add new users by going to the Organization page.
Creating Secrets⚓︎
SmartDocumentor's API uses the client credentials OAuth2.0 flow for authentication with external client applications. Each Organization can be issued an unique Client ID and Client Secret.
These credentials uniquely represent your client application in our system and must be stored securely.
To create (or re-create) a secret pair, head to the Organization page, and click the Secrets tab. You will be greeted with this configuration screen:
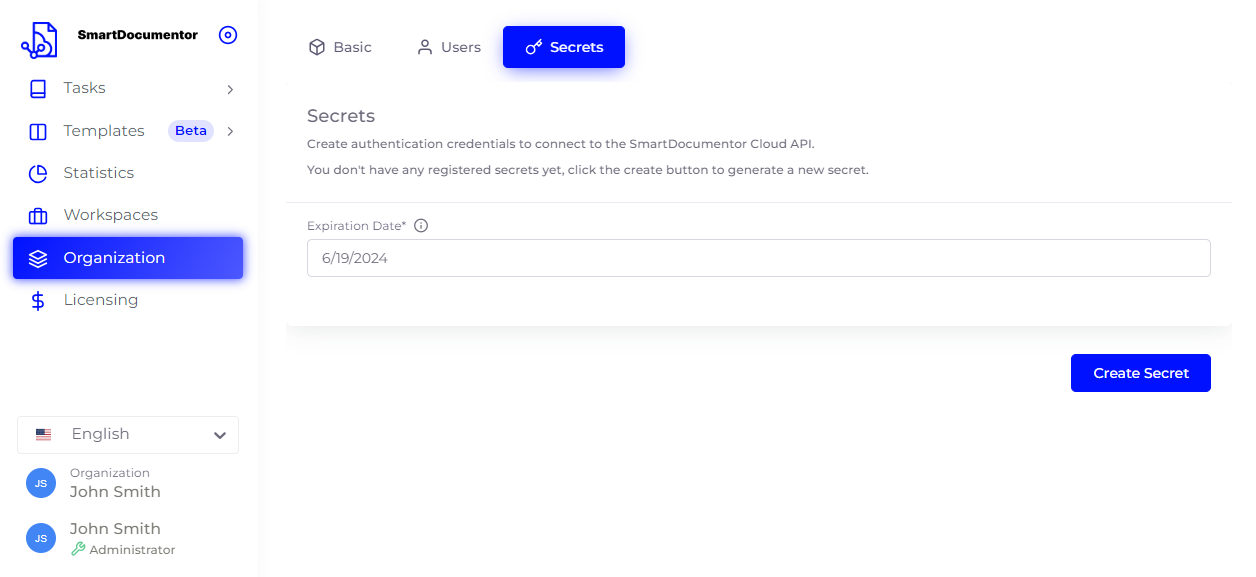
You must set an Expiration Date for your secret, with a maximum expiration of 1 year. Once you have set a date, hit Create Secret to create your secret pair:
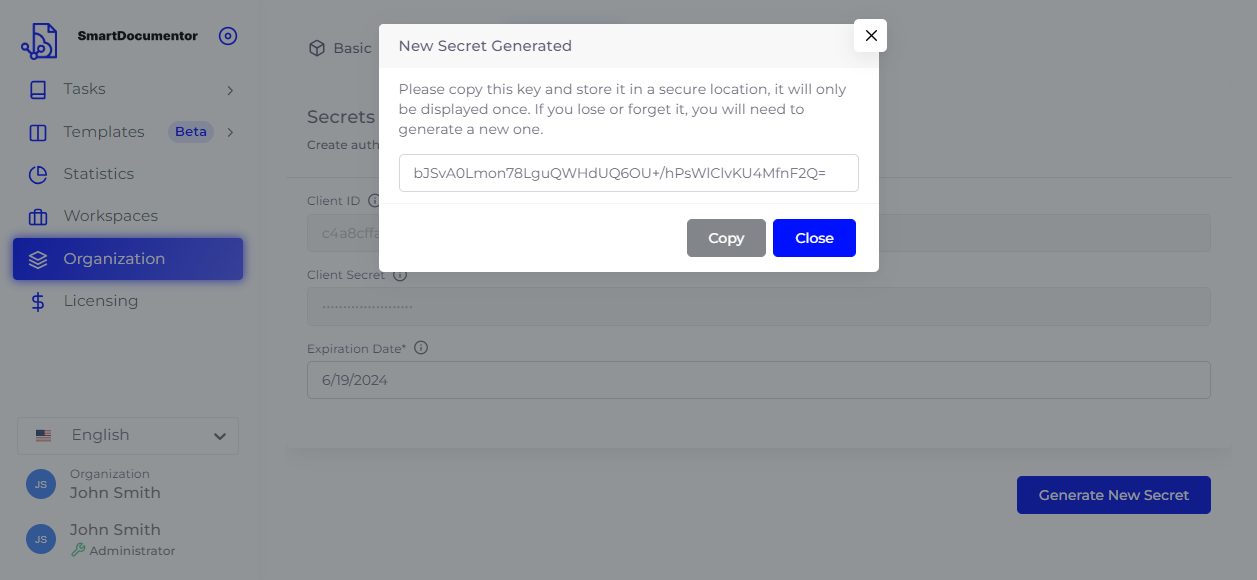
Copy this value and store it securely, as you will no longer be able to see it past this point.
You may generate a new secret at any time by clicking the Generate New Secret button.
Not that only one secret is allowed per Organization - you will no longer be able to access the SmartDocumentor API with your old secret until you replace it with the new one.
Finding your Workspace ID and Tenant ID⚓︎
Some requests require the ID of a selected Workspace or of your Organization (also known as Tenant). You can easily view this information after creating a Workspace in the Import screen.
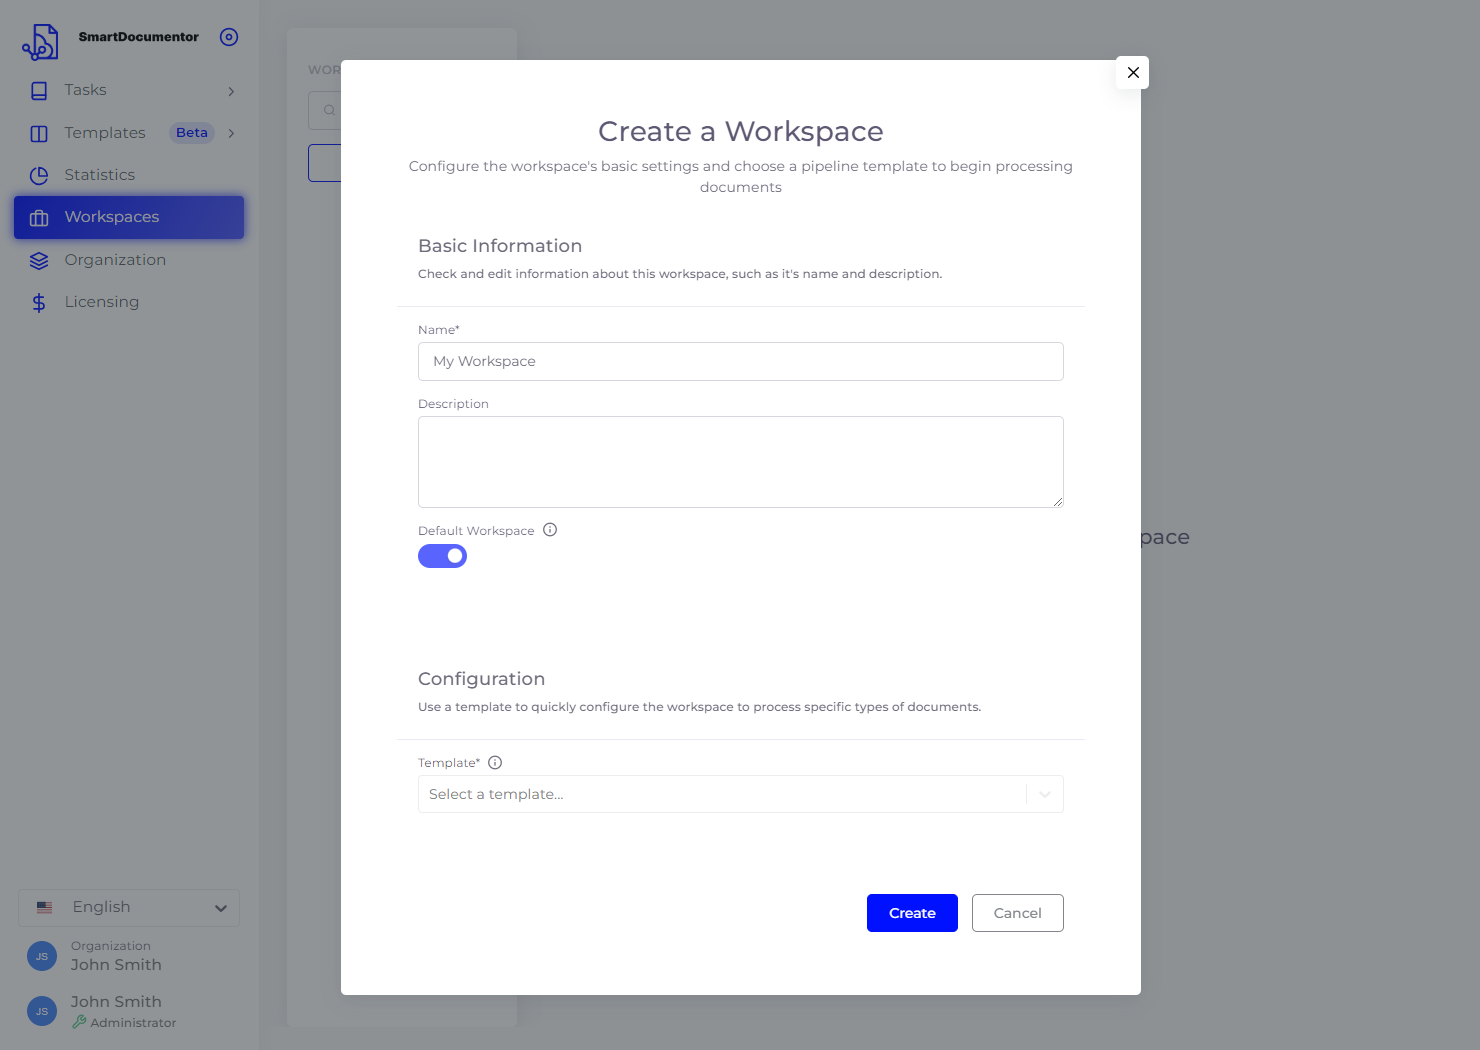
First, create a new Workspace if you have not done so yet. Head to the Workspaces screen and click Create:
After creating your Workspace, head to the Tasks Inbox screen and click the Import button, then the API button:
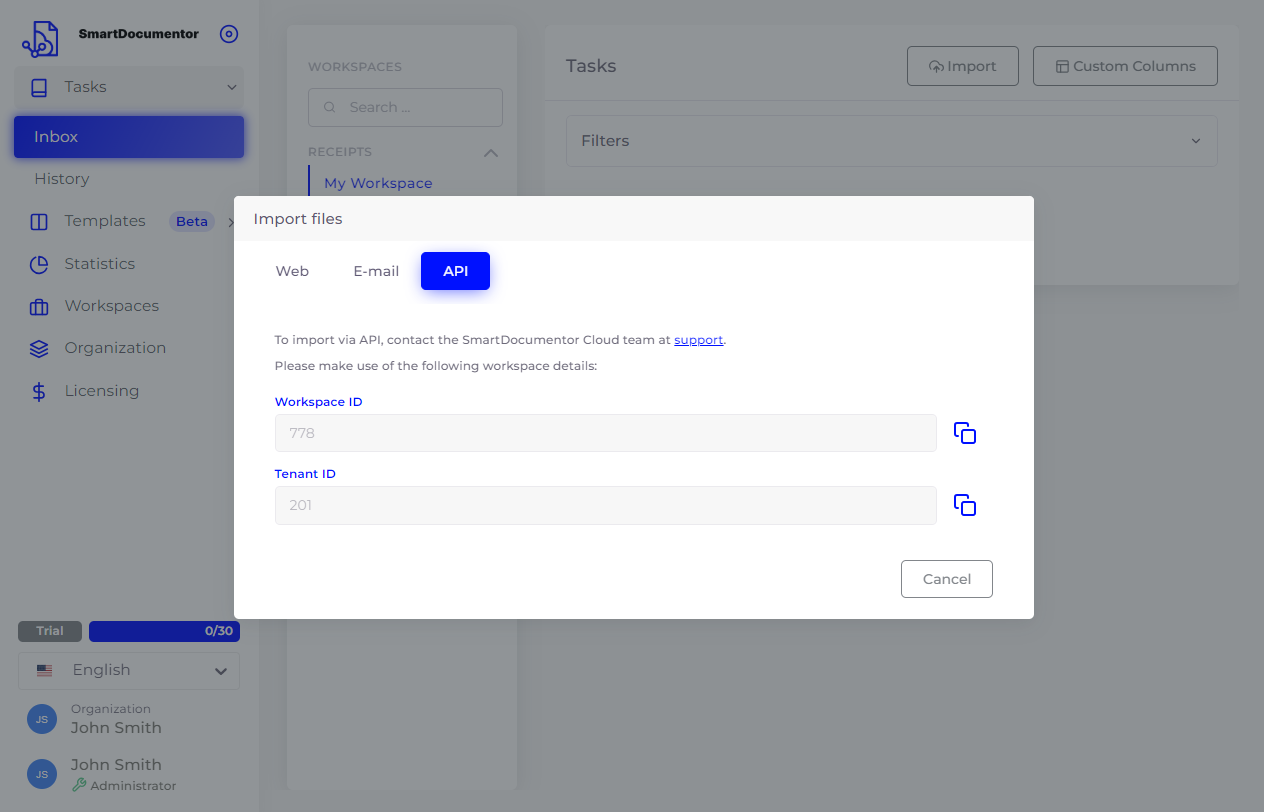
Your Workspace ID and Tenant ID are now ready to copy, if you need them.